

This is such an interesting project for me. Becuase in my head it’s not my forever bathroom (hopefully), but I know it’s going to be like this for 5-10+ years. So while I don’t want to spend a fortune on updating things we won’t keep always (the tub is simply giant and the shower is way tiny!), I also want it to look nice and be a place of relaxation for me in the coming years.
The first area I updated, after changing the paint and the shiplap, was the vanity, which you can look at here. The next area I decided to give an upgrae to was this tub. I’m not normally a bath person, but at the end of my last pregnancy and postpartum, I was all about it. So here is what I did to bring this space a little more modern! The last two spaces I’m updating in here are the floors (hopefully starting those so soon before I get too big, and changing out the shower door. I’ve got 11 weeks before due date and I’m hoping to get this bathroom fully wrapped up this month!


So after the walls were green, I decided to add some shiplap to give a little bit of interest in the room. It’s got a lot of nooks and crannies, so I added some to the tub area, which you see here, the vanity area, and the toilet. I framed, caulked, and painted everything white to brighten it up since this space doesn’t have a window.


This has been over a series of months since there are so many different mini projects in this space. The next thing I decided to tackle was the tile. I thought about actually tearing it out and learning to tile myself, but decided to save that for the kitchen to teach myself that skill. I had found this peel and stick tile that is so cheap, and gives me the look I’m going for.


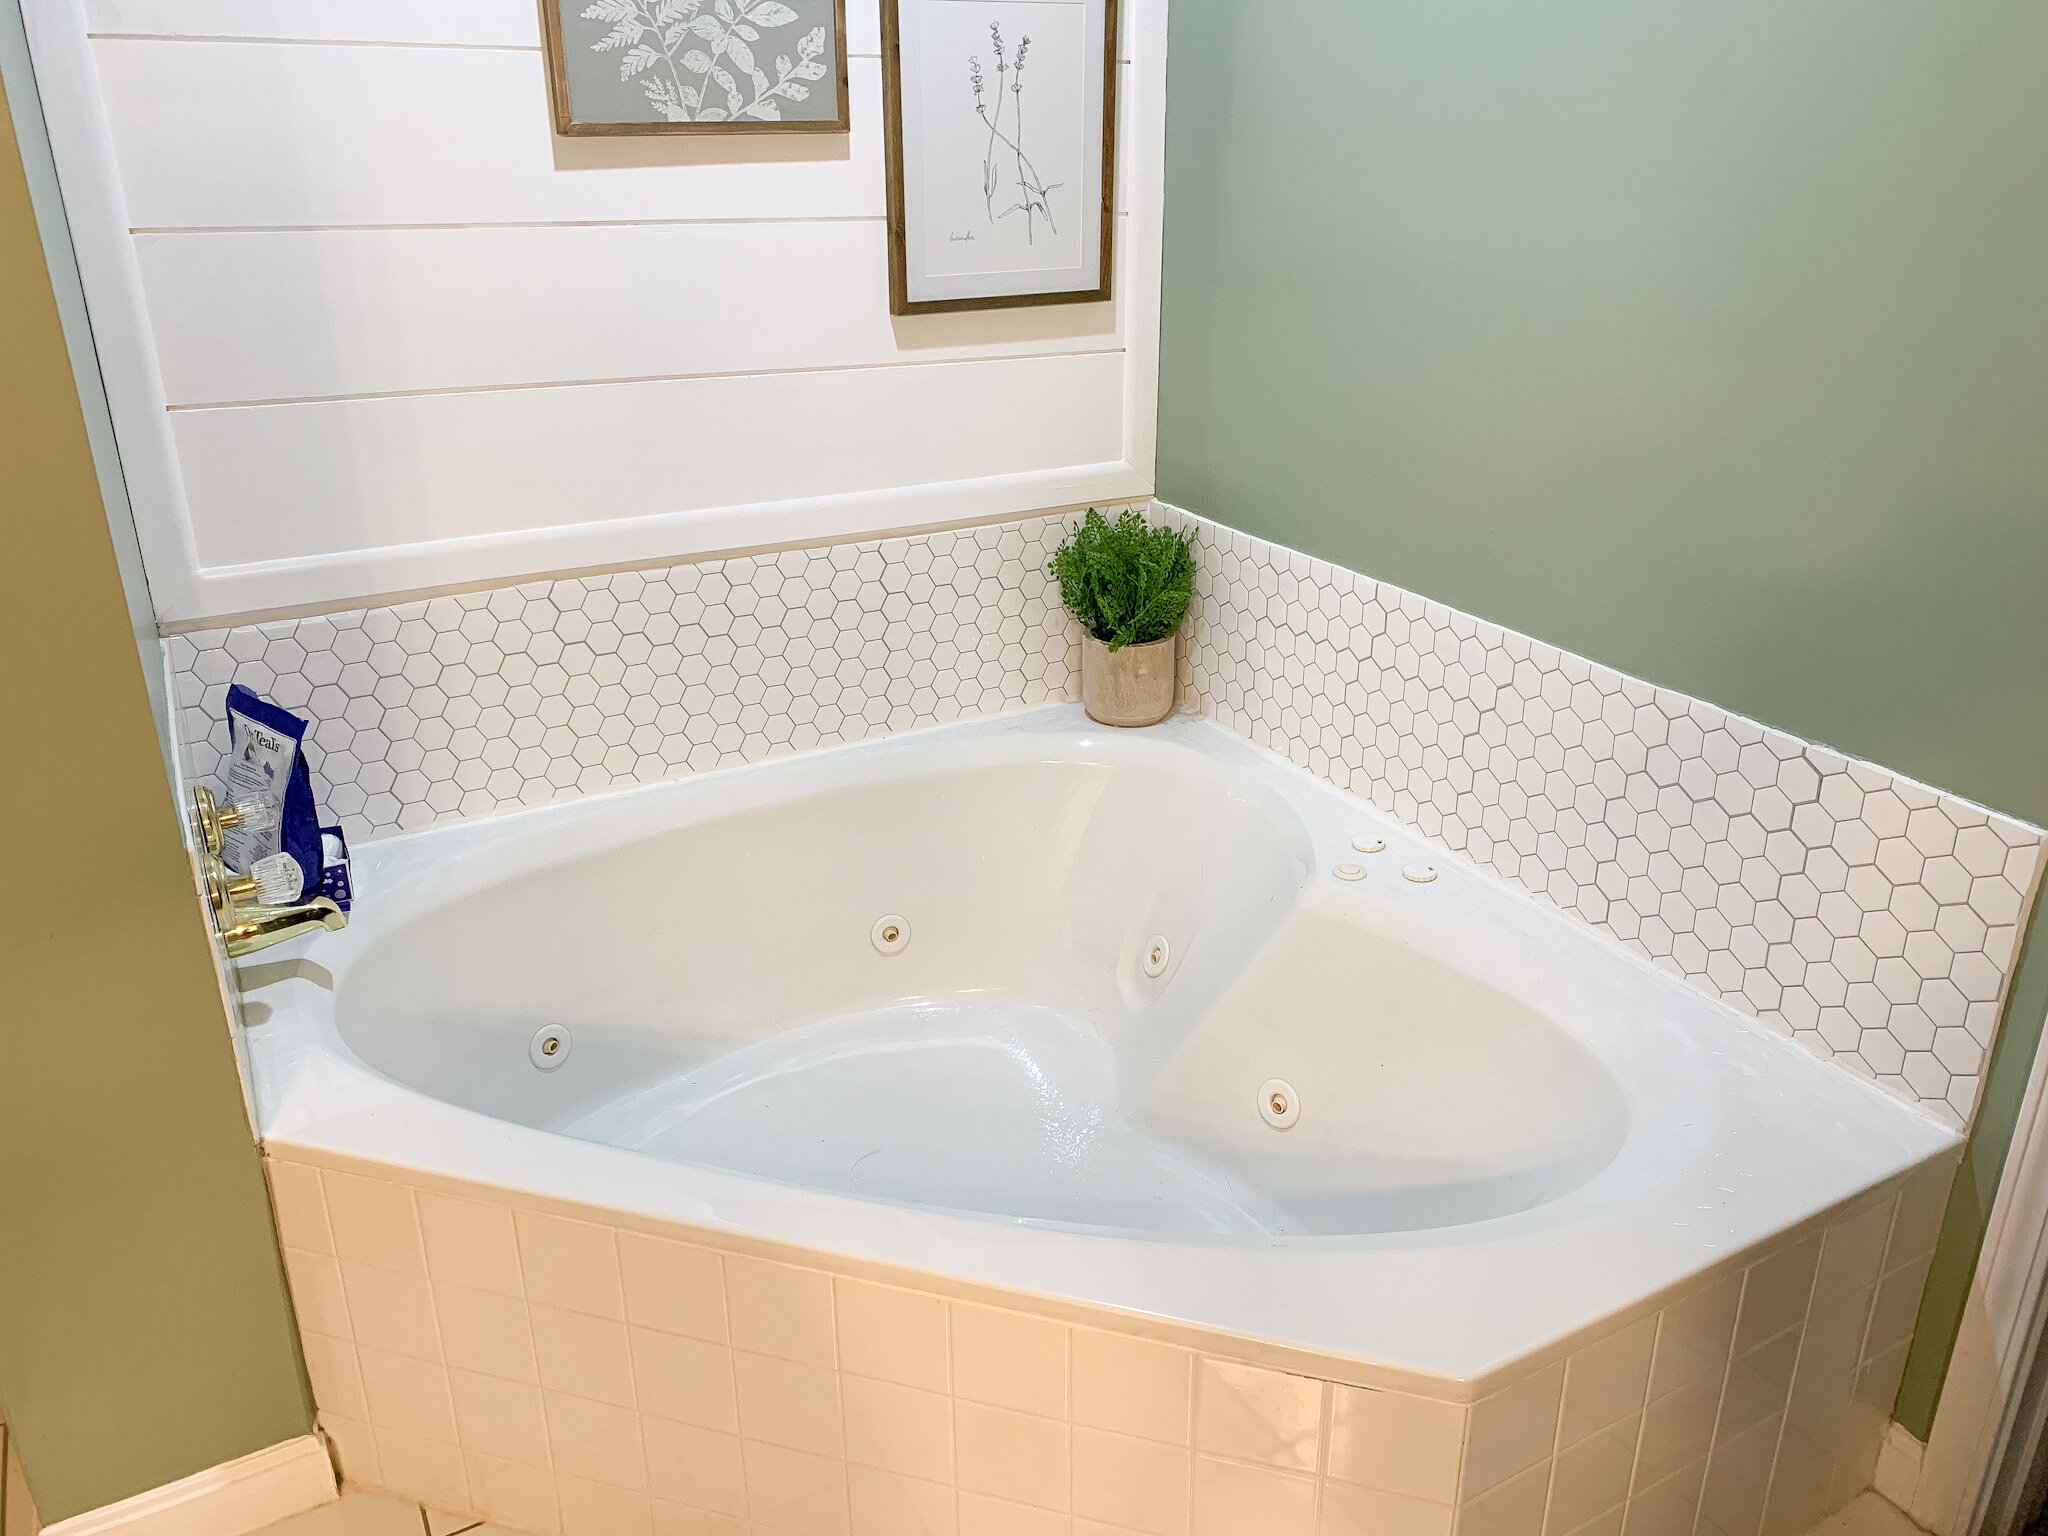
Origonally I wasn’t going to do any trim around the tile. I think if I was just putting it flat on a wall or when I o my floors, you can’t tell there is something under it as well. But the longer I sat with the tile on the wall, I knew it needed trim to make it look more crisp and clean.
Next up was wrapping the tub. I had seen this done on several master tubs, but never a good old class 90’s sweetheart tub. Someone’s gotta be the first right?

After the last bathroom reno, I developed a healthy fear of nail guns near plumbing. Rightfully so. Good thing I have the insurance haha But this crazy set up was how I got the plywood attached and to dry with my liquid nails.

Really wish I could have used a nial gun, but Just didin’t trust it. The smooth surface already looks so much more updated.


Another crazy solve to put pressure on the board so it dried flat.


I made the outside boards a little shorter than the height of the tub, so that I could put a trim piece on top to hide the transition. Between that and caulking it, I’m honestlty pretty impressed with how it looks.


The wrap is definetly my favorite part of this tub. It just makes it so clean and classy looking.
Next up was this faucet. This was an actual nightmare, just because no one could figure out what I needeed. It took three faucets being ordered and two trips from a plumber (he didn’t charge me thankfully) for them to inform me that the handles could not be changed without repiping the walls. Which obvioulsy wasn’t the budget friendly solve I was looking for.
I was ableto order a new spout that was longer that actually put the water in the tub. That was the only functional problem with the faucet, except for I hated the look of the handles.

I debated showing this picture, but honestly it makes me laugh. I’m very OCD and a perfectionist, but I’m also terribly impatient. I decided to spray paint the old handles a matte black and didn’t feel like taping them off so I just sprayed them inside of a cardboard box I cut. Several of my friends and family panicked after I sent this photo.

But see, all is well, it’s being covered up with the “tile".

This is after I added the trim to the “tile” along the top. I know you wouldn’t typically have trim here, but it helped cover my caulk lines and make everything look crisp. I then sealed everything again, mostly with clear sealnt and it looks very polished and clean.

I had been hunting for one of those tub stand things online, and again, my sweetheart tub was just too big. So for $0 and scraps I had on hand, I made one to fit. Stained it, sealed it, added my battery operated candles to it.
Now if I can just have the glass of red wine I’ve been craving this whole pregnancy come September I will be all set LOL

Are these little hot/cold stickers not darling? My friend Erin made them and I am just so impressed. I sealed them with a polyacrilic that way they could withstand a little water and still be a matte black, but I’m obsessed. Thanks lady!!


So that’s the tub area!! No it’s not perfect, but i’s such an imporvement, the spout actually puts water into the tub and not the wall, and I think I can actually attempt to relax in here. Maybe. I’m not great at it.
Last up is the floor and shower door. Praying I can finish up this month before I get too big! Fingers crossed!