

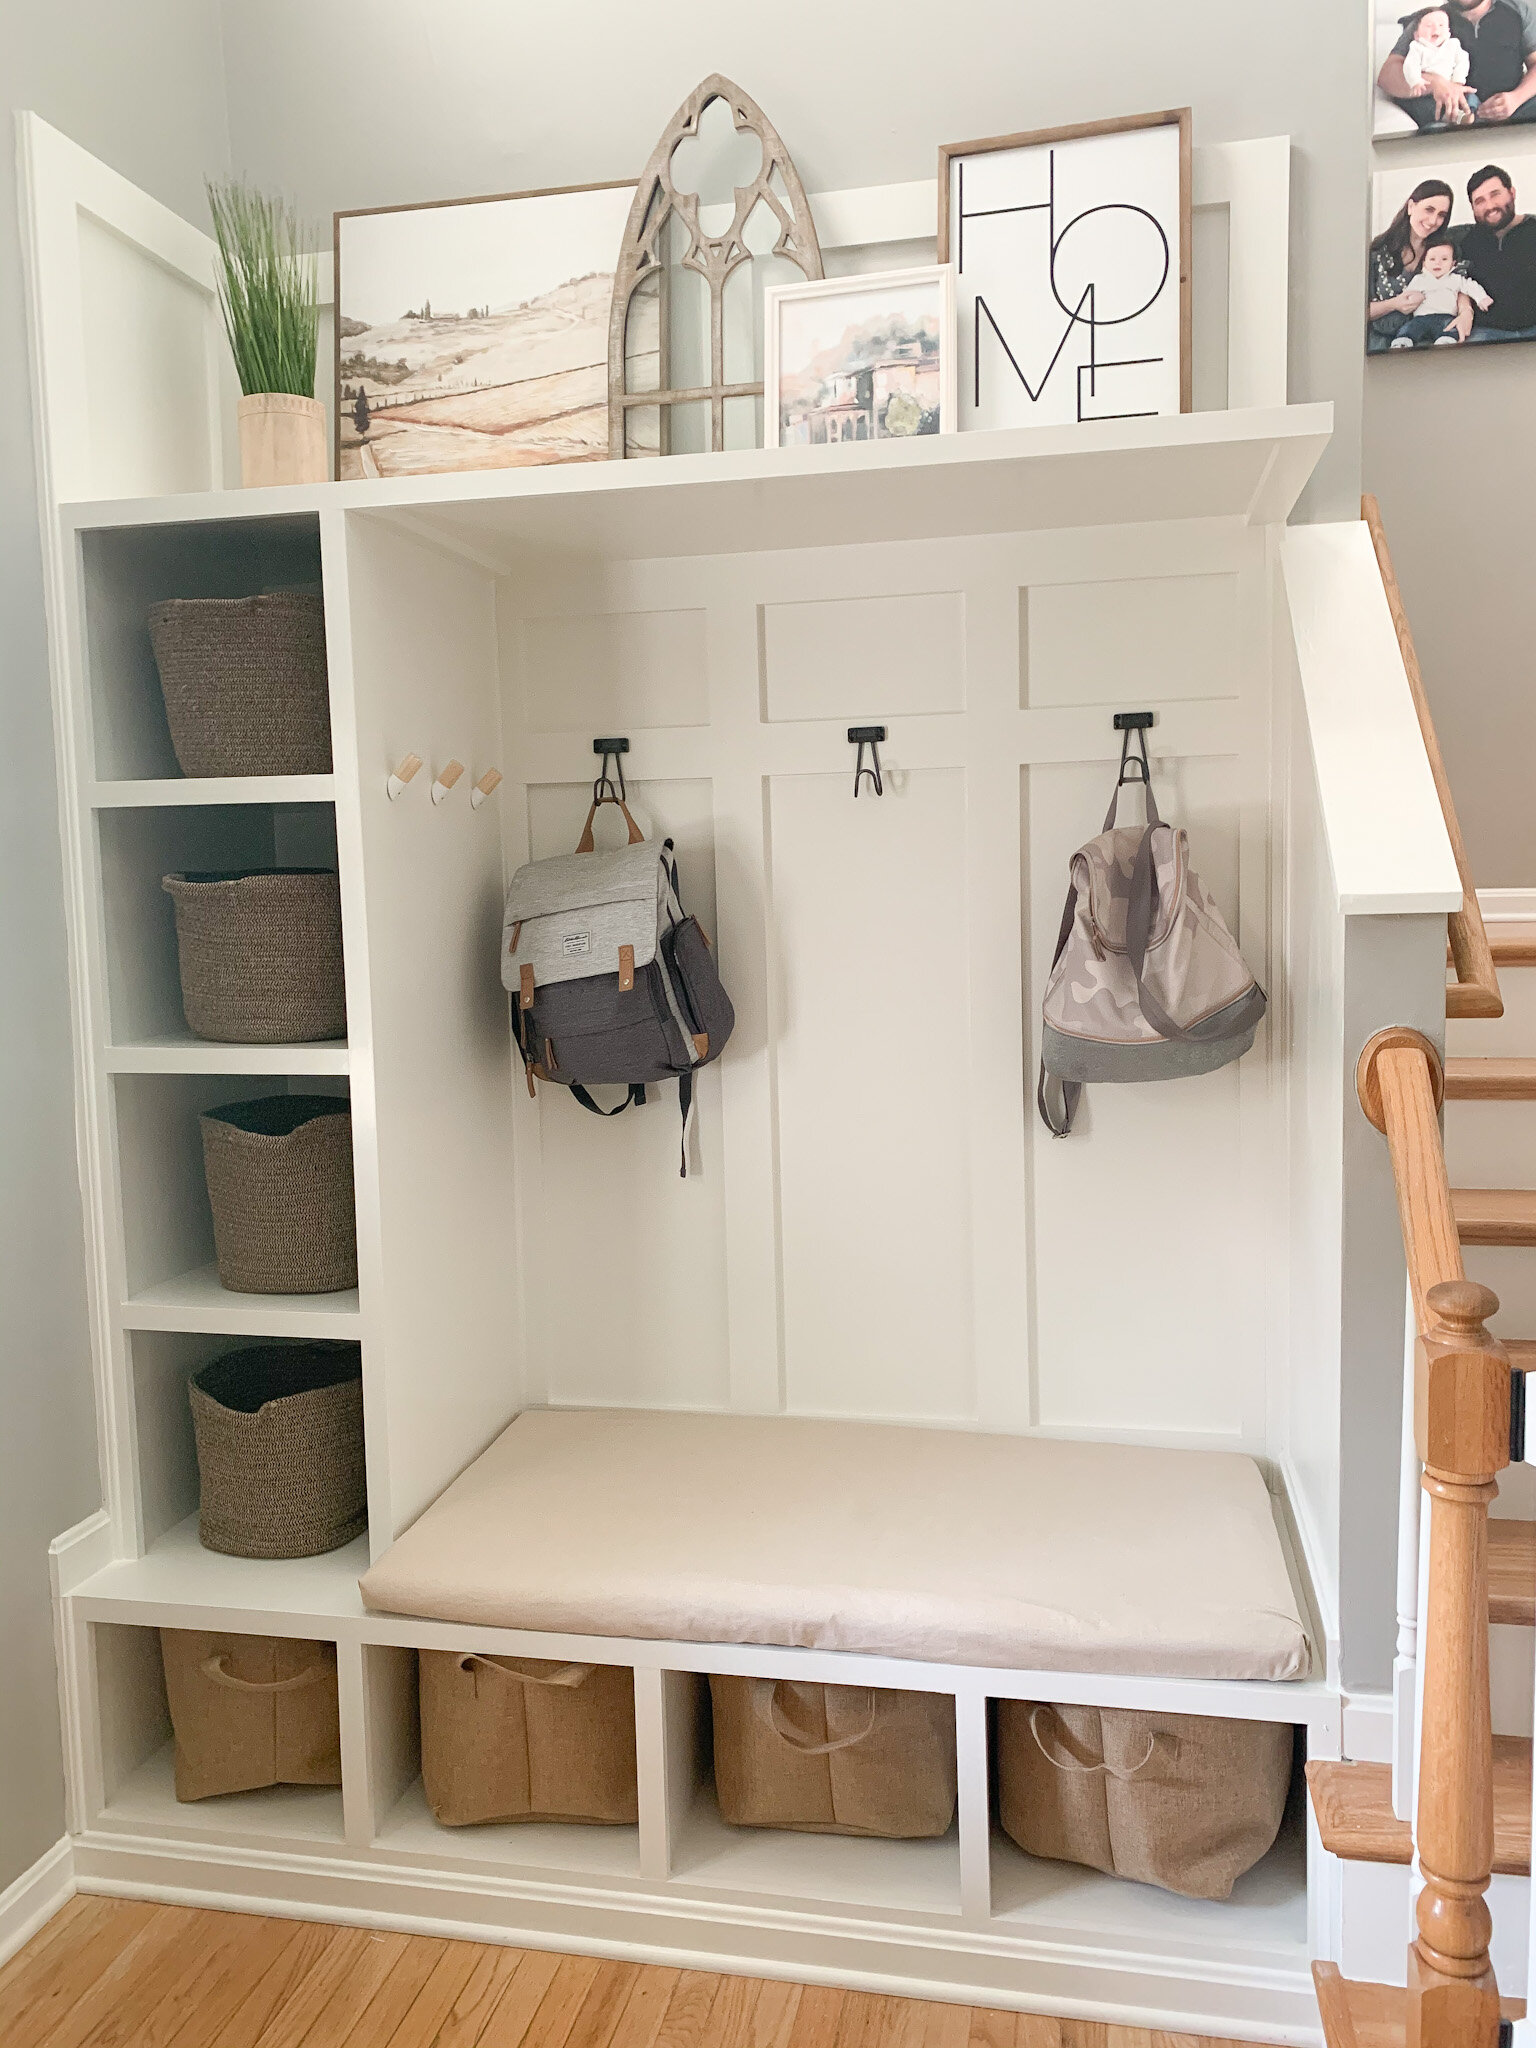
One of the projects I was most excited to complete pre-baby was this mudroom. With the closet having bifold doors, we never opened the doors, and eventually had to childproof it for Parker’s finger purposes. It’s right when you open the door and is now the perfect spot for people visiting to place thier coats, bags, and for us, diaper bags and car seats!

This is what the foyer looked like when we bought the house. Obviously, we have changed several things since moving in, but by tearing down the closet and that platform, it really opened up the space for us. Plus give me ALL the baskets for storing things. It’s basically my MO for parenthood.


We eneded up hiring out for the construction of this. With there being tearing down a structure and drywall, plus the time constraint with the baby coming, it was definetely the right choice. I designed what I wanted it to look like in the space, and then did the painting, hardware, and styling myself. You can see here where they were building out the shelves. So good for all of the shoes, hats, scarves, people are coming over last minute and we need to scramble clean. You know, whatever. LOL

The origonal top of the closet had one of those huge plant platforms on top of it which was very harsh in such a tall space. I added a shelf there to be able to add in some decor still, but its more shallow than the origonal and also lower in height.


We also cut down part of the wall along the stairwell side to open the space up more. I wanted to keep the wall at an angle so that the railing still functioned, but without the right angle.


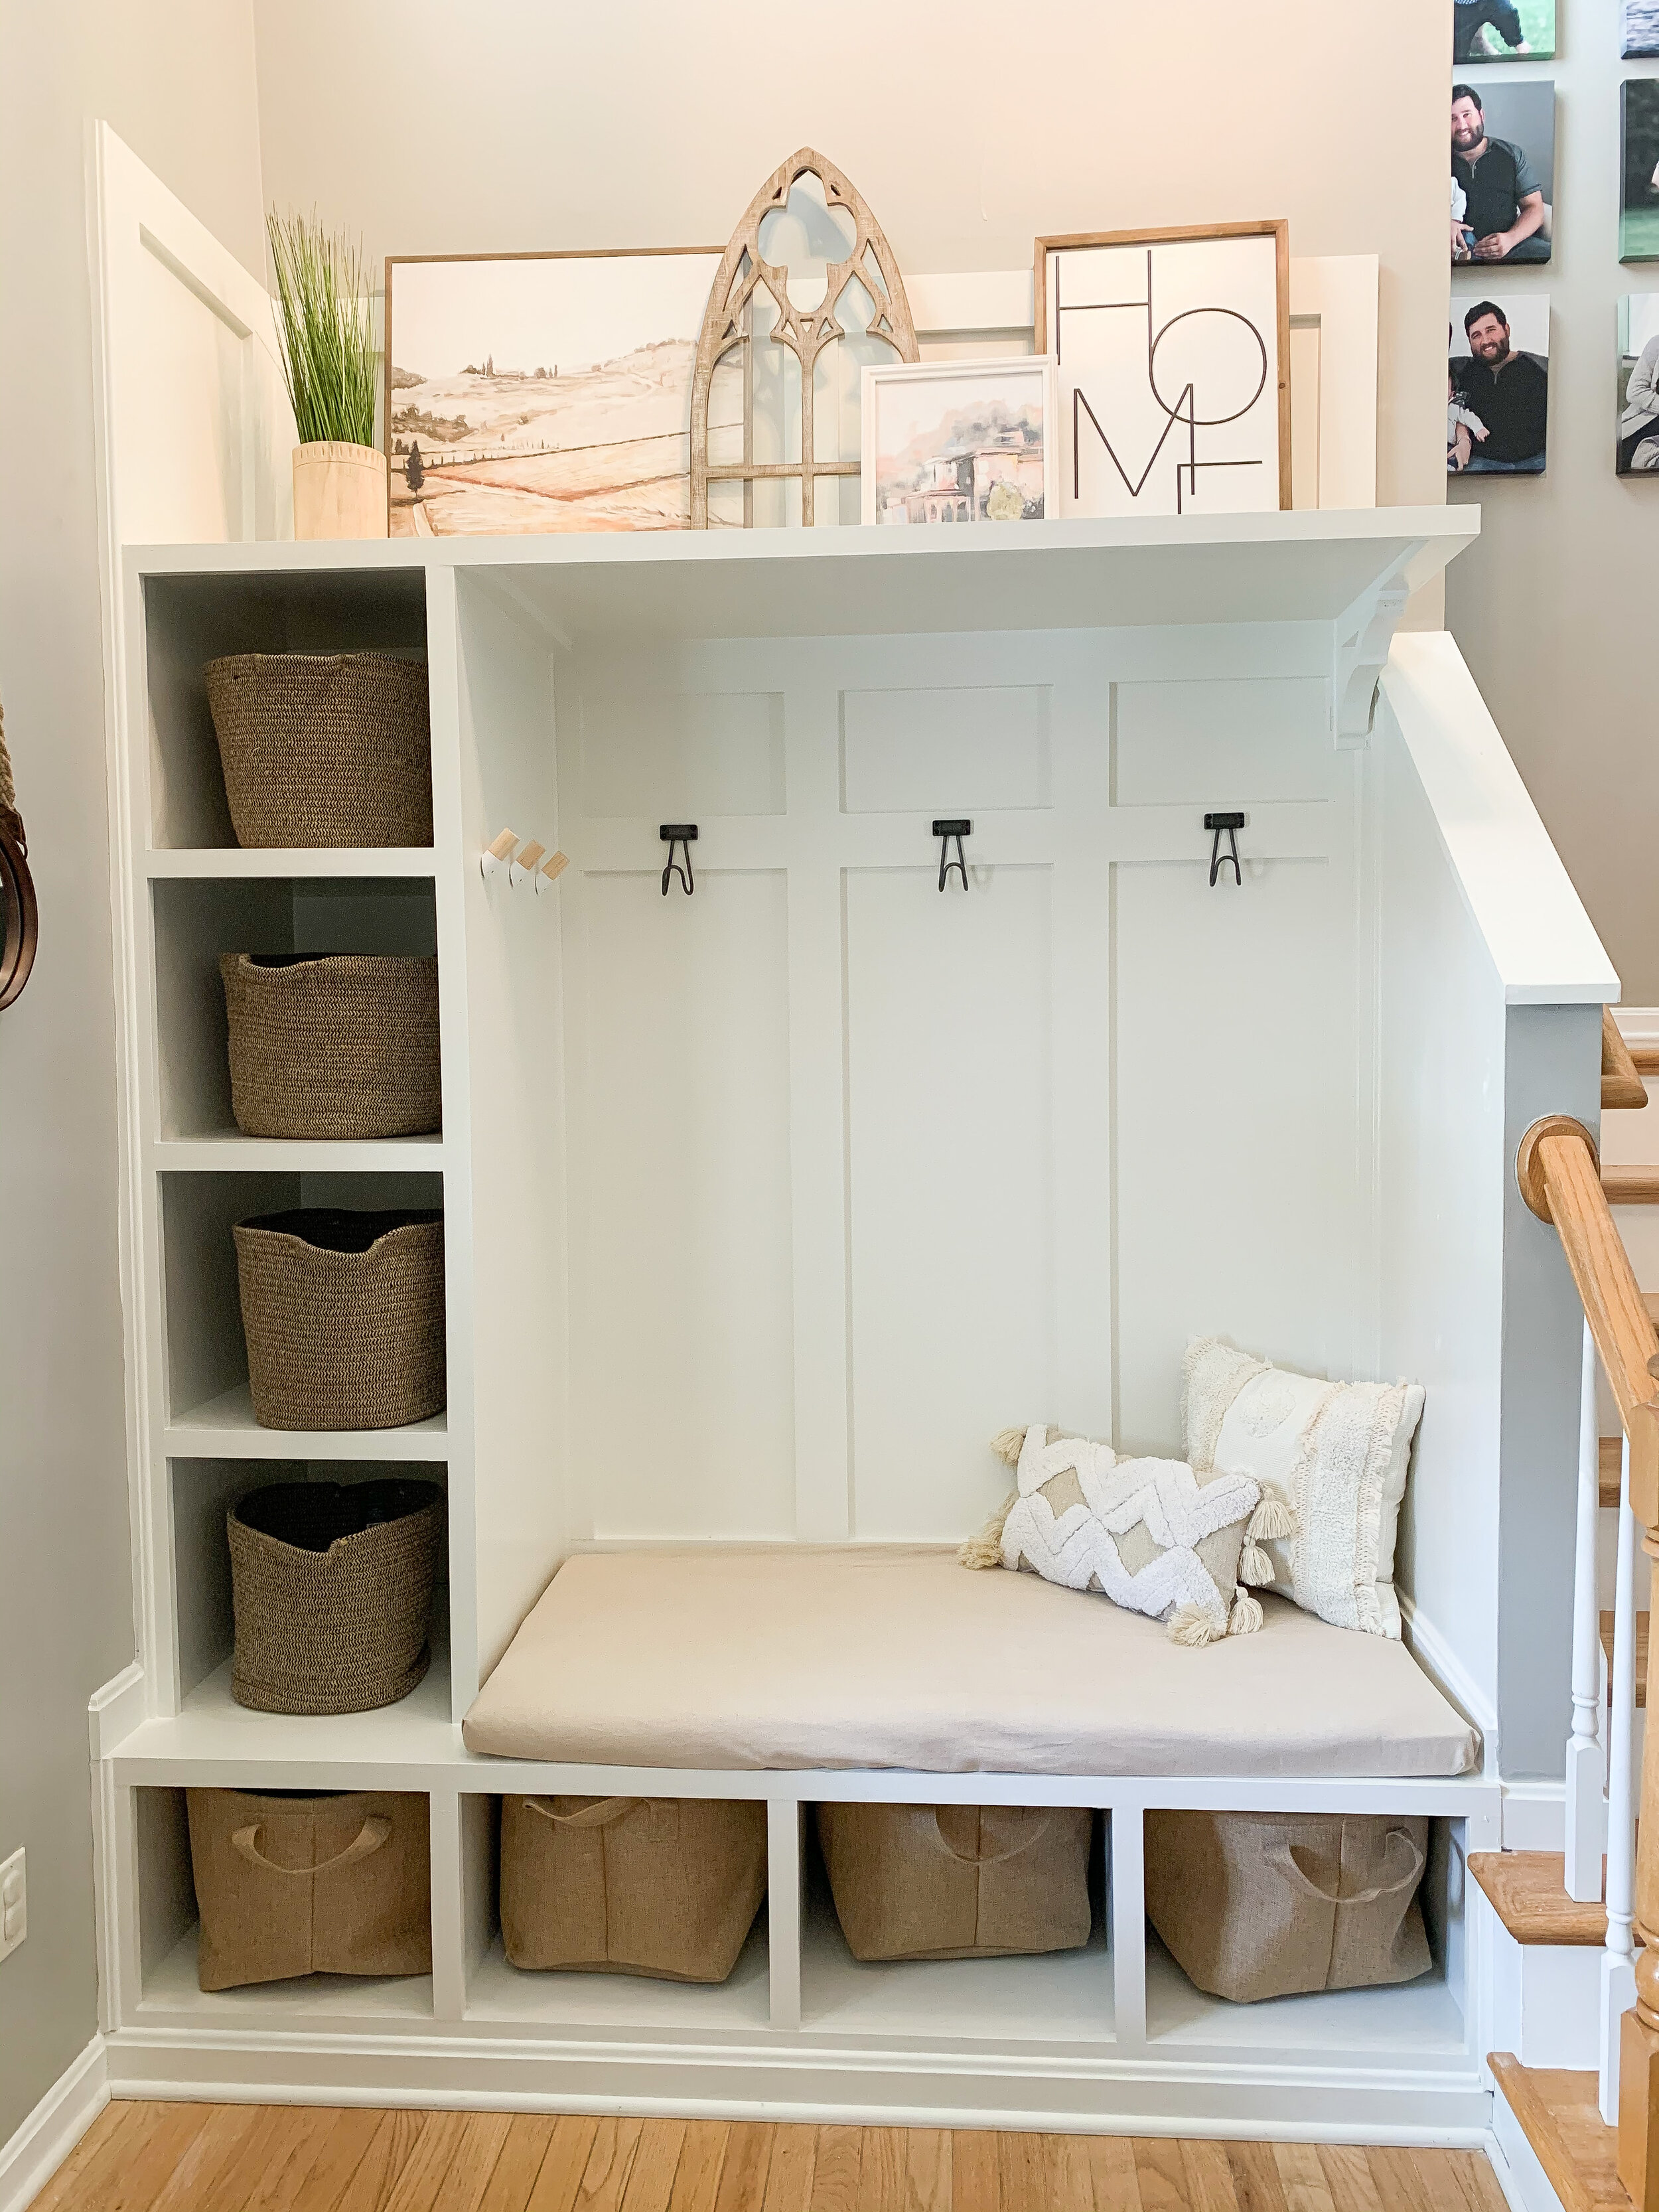
You’ll notice in the completed photos we added in a corbel to better support the shelf, and to make the shelf ending not so abrupt.


Thankfully it only took two coats of white paint to get this situated how I imagined it. Painting inside each of the cubbies was hard work! I then added the hooks and pegs for holding bags, scarves, etc. I wanted a cushion for when you sit down, but there wansn’t one that came in that specific size. So I ordered some cushion foam, and the sewed a cushion cover for it. This will be super nice to be able to pop off and wash, but if you follow me on instagram, you know my sewing machine broke in the process, so it was a bit of a saga. Got it done though, and it’s how I imagined it.

Last thing was adding the corbel and touch up paint! I’m so happy with how everything came toegther, and how much more useful this space is to us now. Not only does it coordinate with the board and batten I added to the dining room across from it, but it opens up the space and created function for us. No more dumping everything on the kitchen table, or piling it up on the island. Or at least I hope :)


