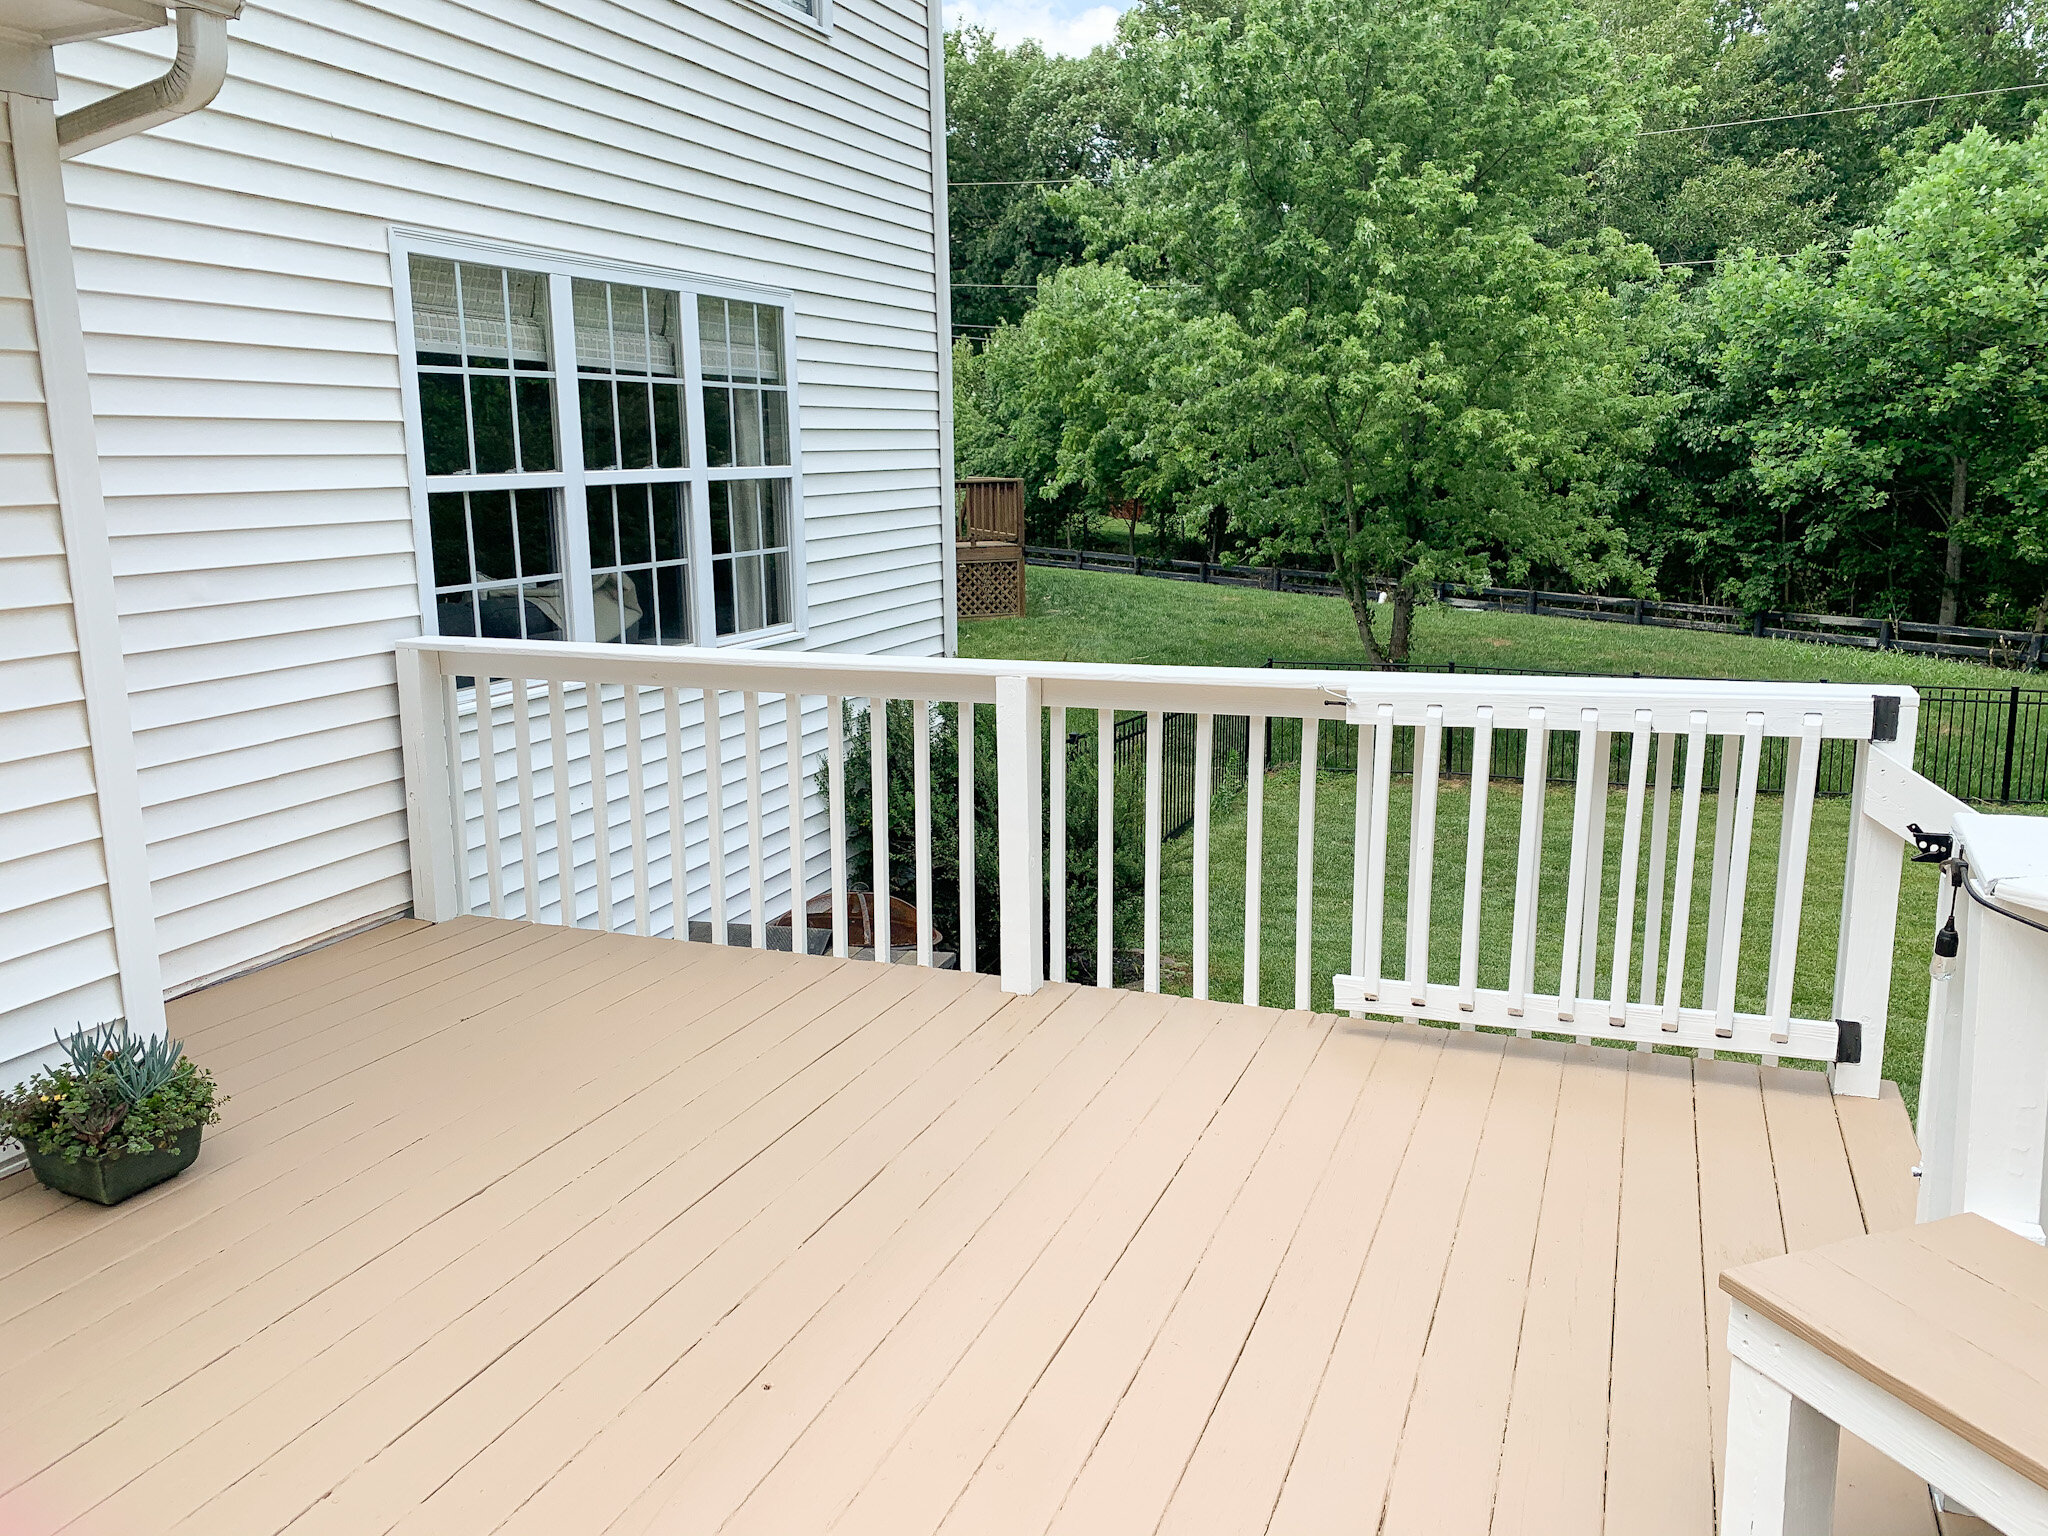
Our back deck has been needing an update for a while. Its about 22 years old and was in desperate need of being repainted. We eventually plan to redo the deck, or perhaps change it up in some way, but it was so worn, something needed to be done now. The paint was extremly chipped as you can see, and only increased even more after powerwashing it. The red was extremly hot in the sun as well, and truth be told, it truly didn’t go with the colors of our house. I decided that if it was going to be painted, I wanted it to be changed so that it matched the colors of our front porch which I love!
Here are some of the before photos to show you where we started and what kind of shape it was in.


After throughly powerwashing everything and using a putty knife to go after as much of the paint off as I coudl I was ready to prime. NOT that I am doing this often or any time soon, but I think next time I would also use paint stripper to try to get things as smooth of a finish as possible.

I got one of the biggest buckets of Kilz paint I could find and got started. Luckily, my brother helped me with this step. Trying to cover all of the red, especially on the railings was quite the undertaking. Especially with being pregnant in June. Got it done though!


I used s spray paint primer on the lattice to change that color. It was going to take actual years to paint that by hand.


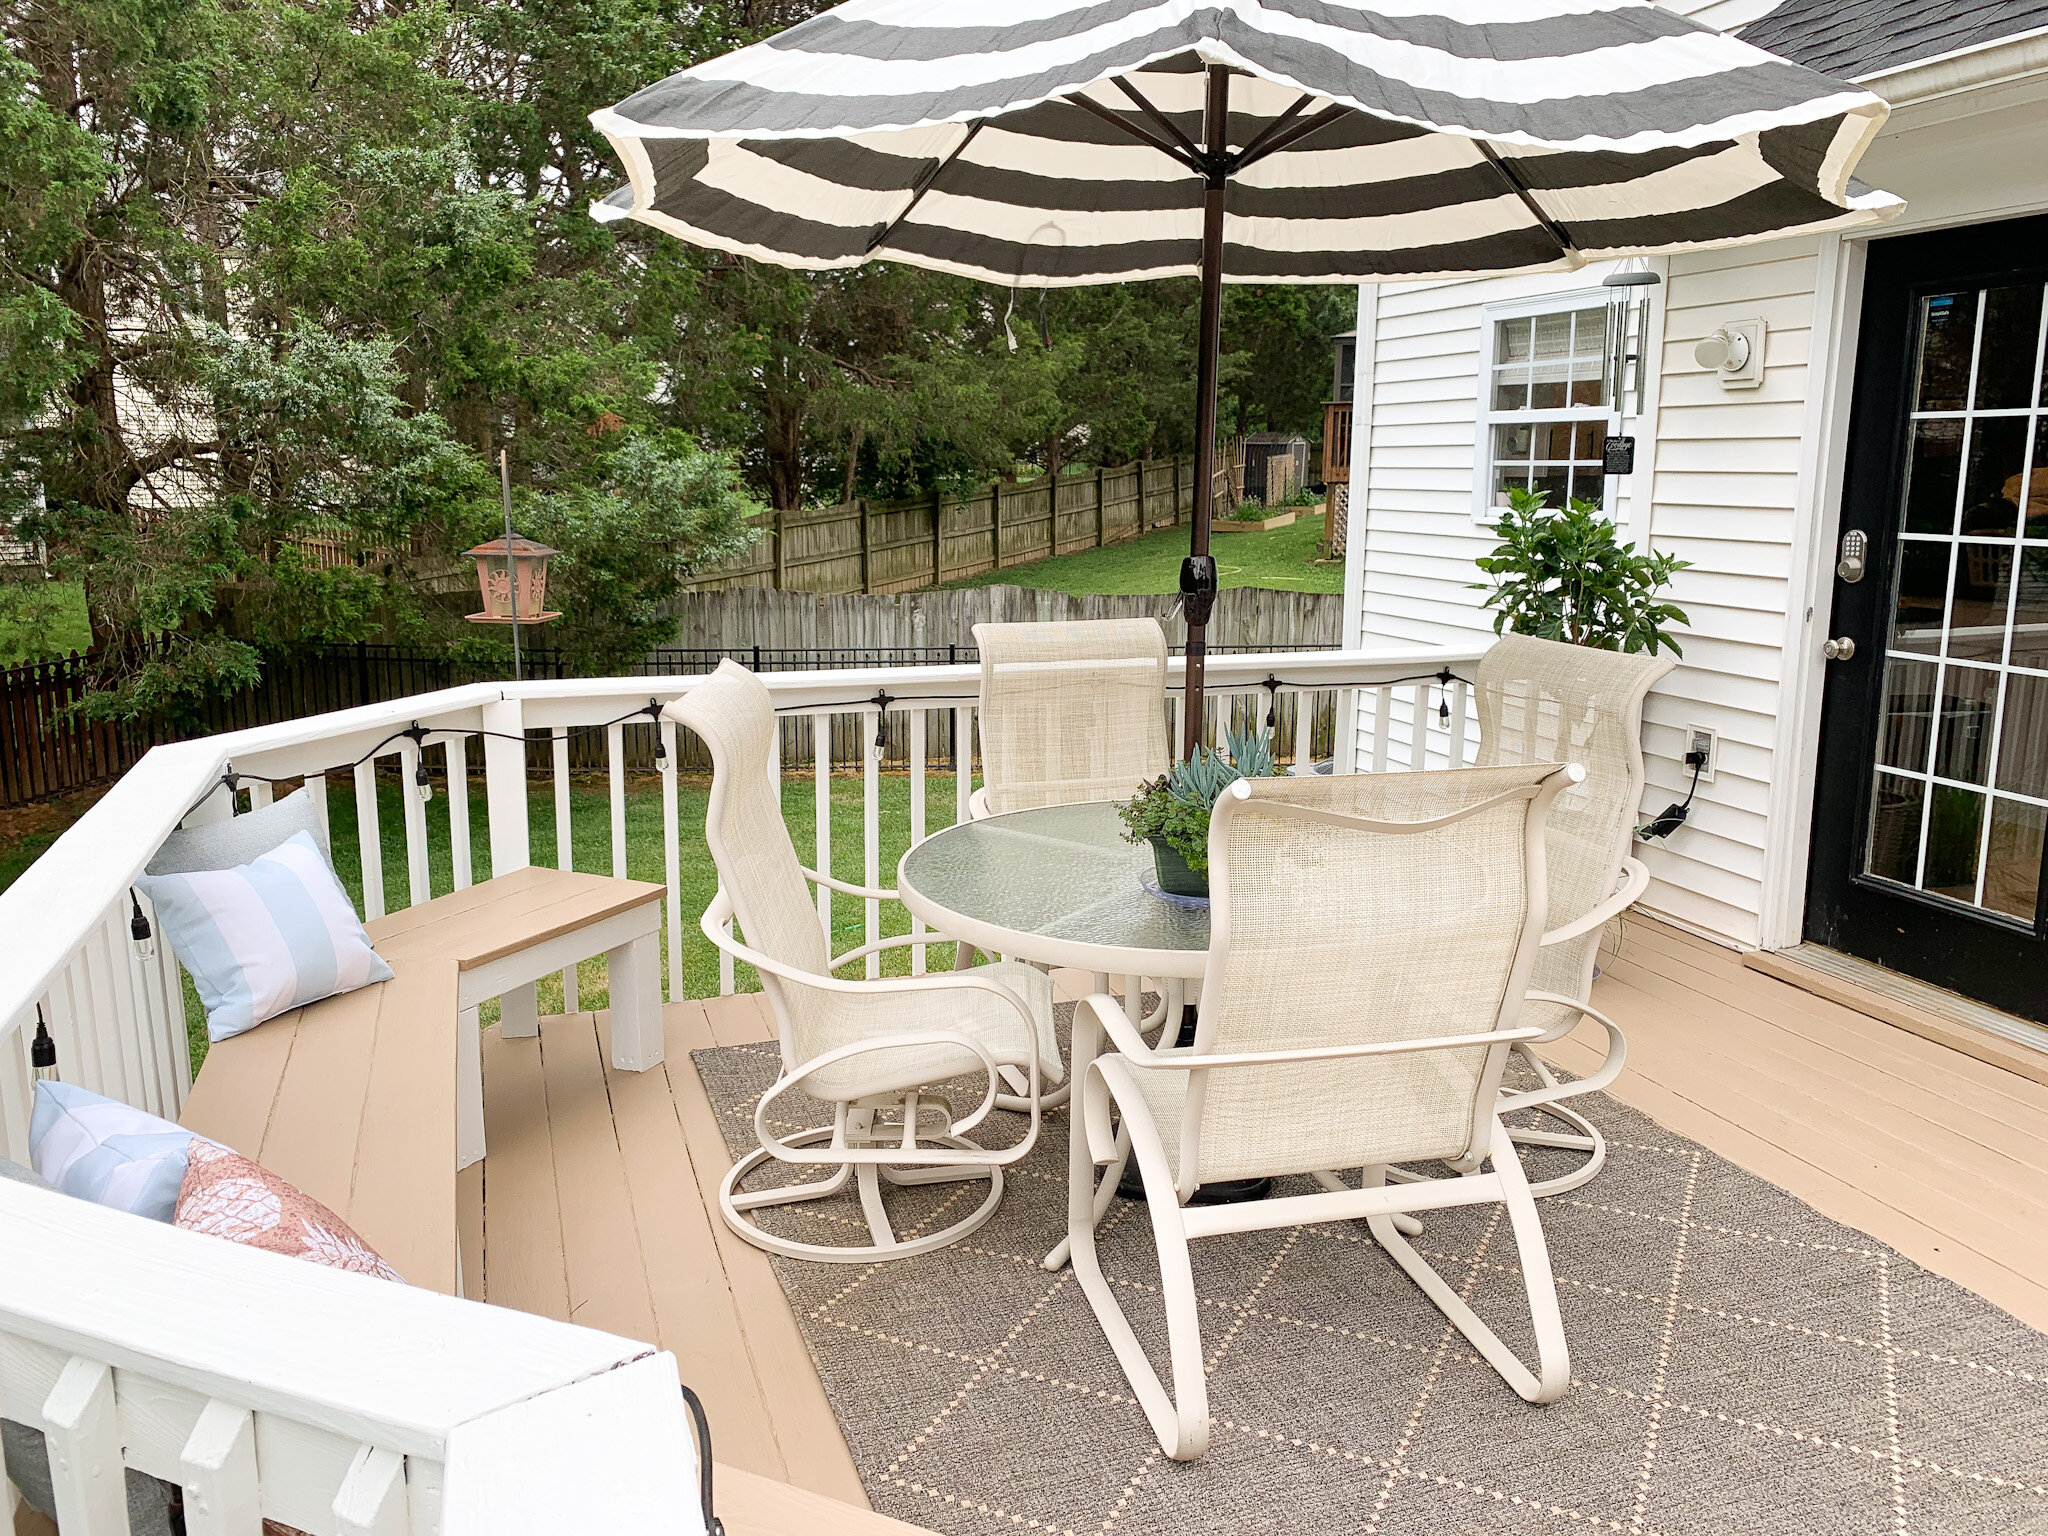
This is the deck paint that I used for both the white and the brown. It now matches what is used on the front too, so it’s going to be so much easier to touch up now.


The railings took one coat of primer, and three coats of paint. Same with the brown portion. I decided to do the railings first, to try to minimize touch ups that had to be done from spiled white paint.
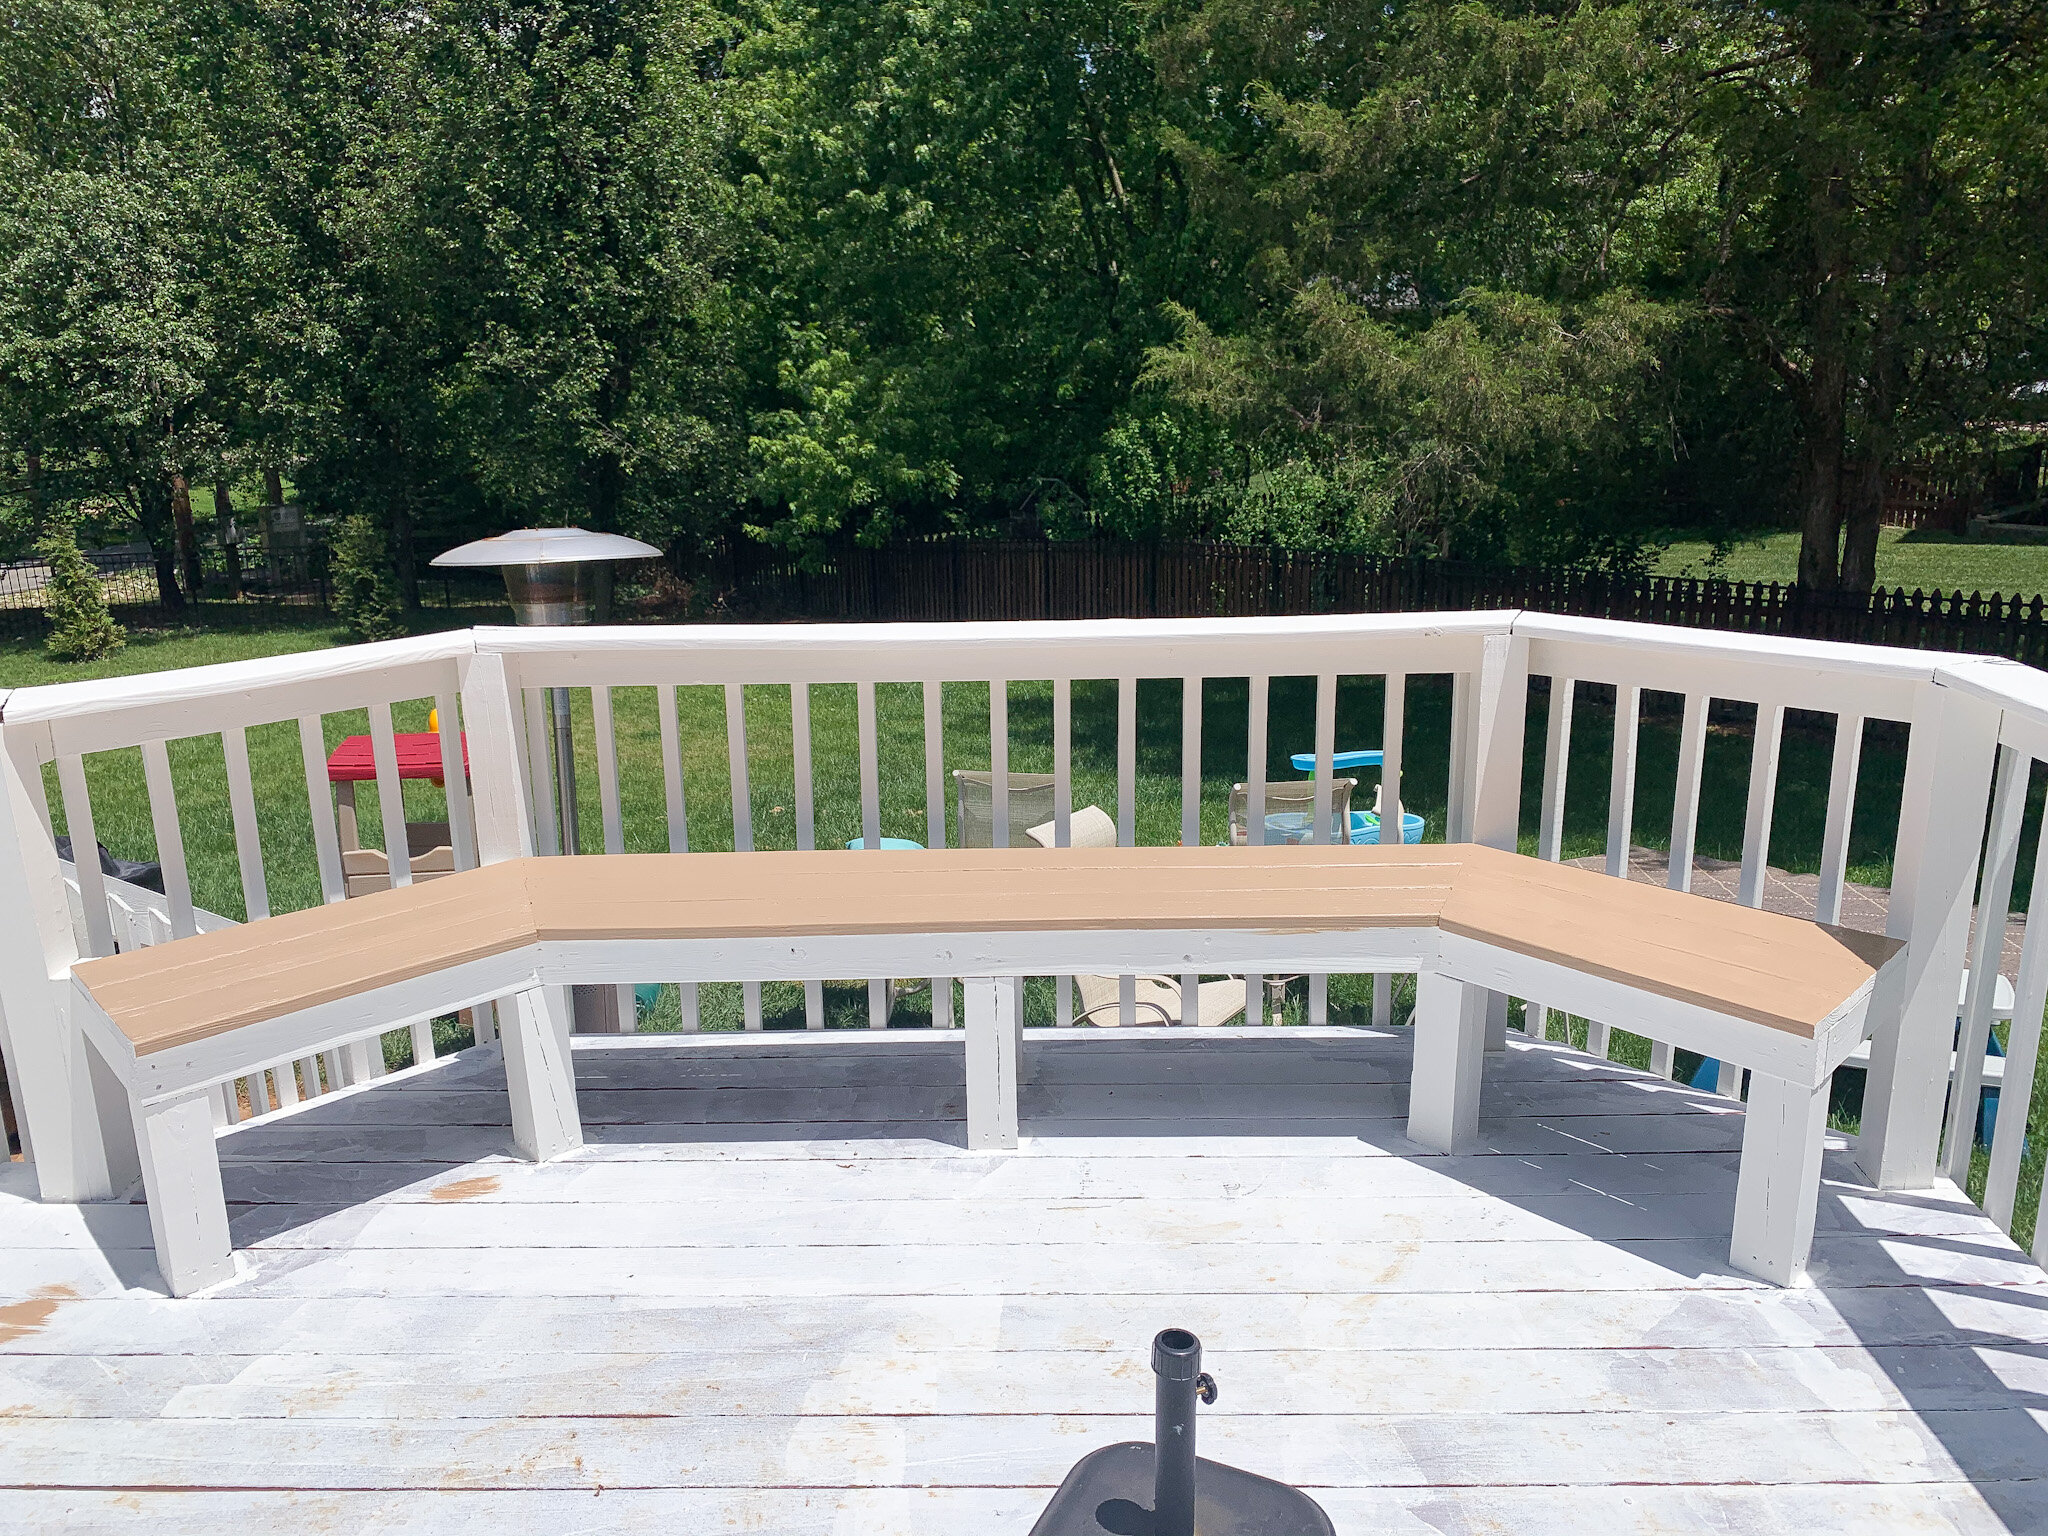
Unfortunatley the first two coats of brown had to all be done by hand to get in all the cracks and cover the red. It was certainly a relief when I could roller the last coat!


I’m so happy with how it all turned out! Like I said, I won’t be doing this again any time soon, but I am glad to have it clean and updated for a few years. And certainly glad to be done working in the hot summer heat! Now you can find me under this umbrella with my feet up, watching Parker play in his pool!