
Di antara berbagai jenis taruhan online, togel Hongkong Minitoto menjadi salah satu pasaran yang paling konsisten dimainkan setiap malam. Alasannya cukup jelas: result yang stabil, hadiah besar, dan sistem permainan yang fleksibel. Minitoto menyajikan pasaran HK dengan gaya main yang cocok untuk pemula maupun pemain lama, apalagi karena cukup dengan deposit 5 ribu, siapa pun […]
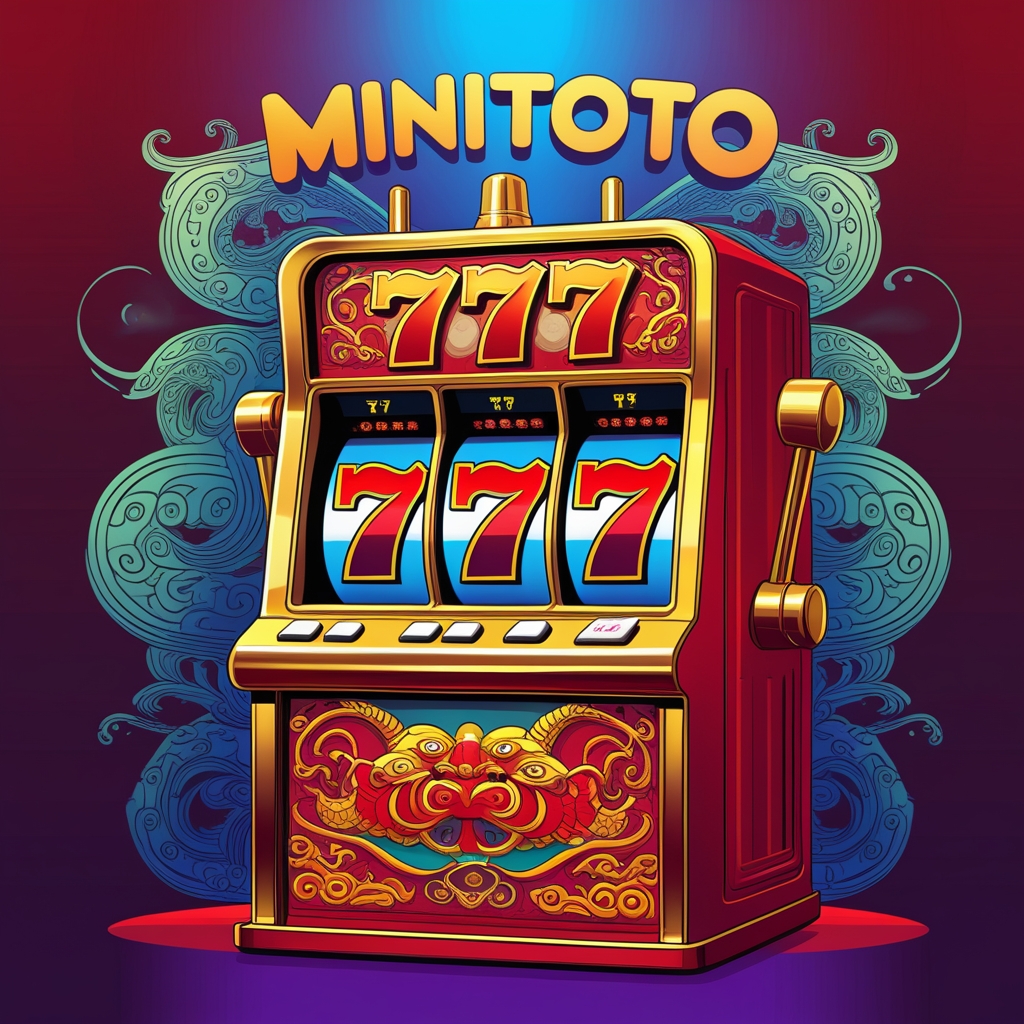
Slot Gacor 777 Minitoto Sering Munculin Pengali Misteri Gila
Di tahun 2025, fitur pengali gak selalu harus didapet dari bonus. Di slot gacor 777 Minitoto, ada banyak game klasik yang punya pengali misteri — muncul random dari base game dan langsung ngasih efek gila ke saldo. Angka 7 connect bareng pengali x100? Wild di tengah disambut pengali x50? Itu kejadian nyata yang banyak dilaporin […]
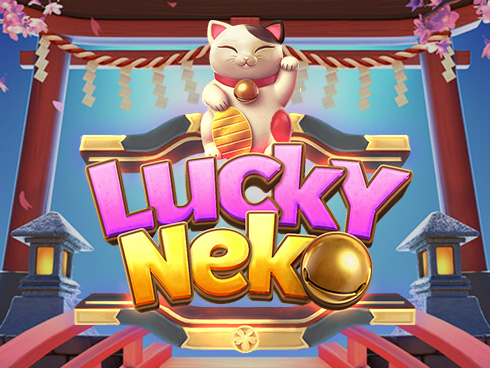
Lucky Neko Slot Game Kucing Keberuntungan
Siapa yang nggak kenal dengan kucing keberuntungan asal Jepang, si Lucky Neko? Game slot yang satu ini hadir dengan tema tradisional Jepang yang kental banget, tapi tetap punya sentuhan modern yang bikin setiap putaran jadi spesial. Dengan grafis yang elegan, fitur unik, dan peluang cuan gede, Lucky Neko sukses jadi favorit banyak pemain. Kalau kalian […]