I am all about our home having character. But with a builder’s grade home from the 90’s that’s just not something this home was going to have unless I created it. I have done several wooden accent walls over the years, and have gotten better at it each time. I have to say, this is the best I’ve done though. I took my time (shocking), researched the products I used first, and used a paintable sealant that helped keep everything looking flush. It’s still not perfect, but I’m oh so happy with it, and can’t wait to continue this downstairs in the dining room next month!

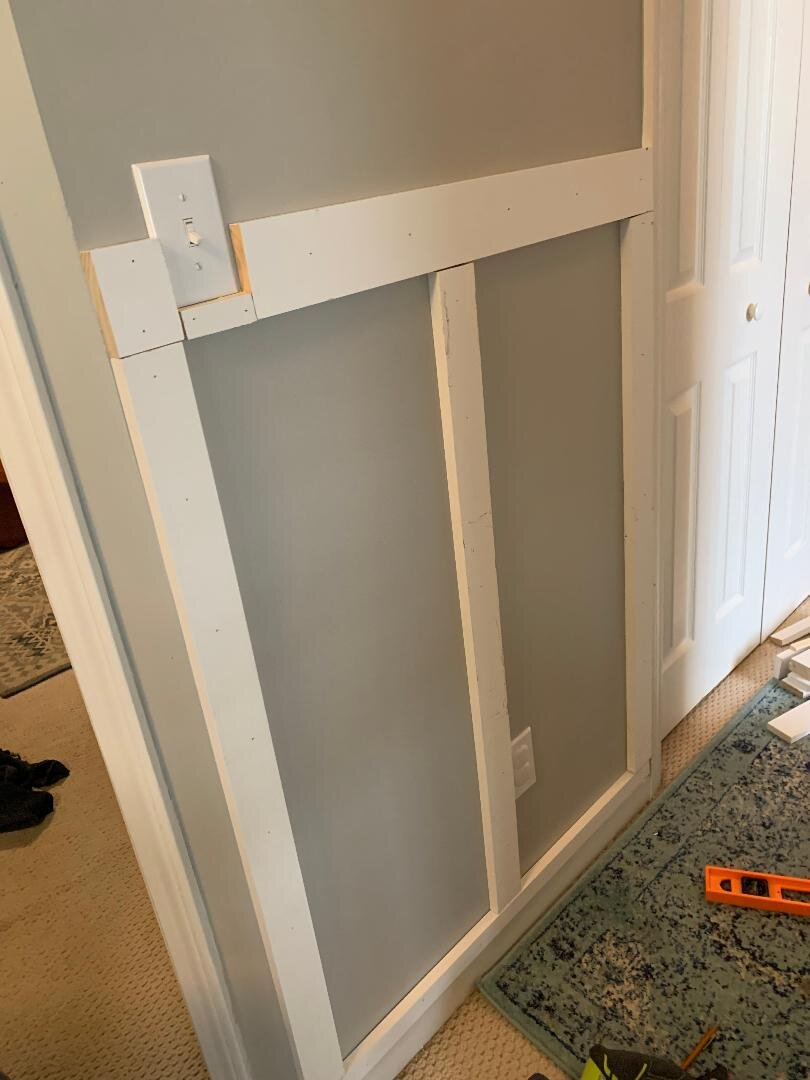
This hallway is pretty dark unless the doors are open, so I opted for white and did a semigloss paint to make it wipeable with dogs and sticky fingers. Knowing that my walls are not even or straight, I decided to put the horizontal board up first to make sure that was level, and then fitted my vertical boards to the varying heights. I used a pre-painted MDF and especially with opting for white, this made my paint job easier.

Nail gun and 90 degree angles all the way down. I spaced my boards about 15 inches apart so that I could nail gun them into the studs, but being that the walls were not the perfect length and the studs weren’t perfectly placed, there was a little bit of adjusting there. It all flows though, and you can’t tell a thing.


You can see how I peppered some of these boards, waiting to hit a stud. Knowing I was spackling and painting everything I wasn’t very worried about it. All my boards were close in height, but to avoid gaps, I measured each on and there was about 1/4 inch variation in height on them so I’m glad I did.

Of course I started with the wall without the outlets (insert eye roll here) I actually like that the light doesn’t stand out on the wall though. I just wish I had made it a bit higher so it blended in more. Once I filled everything in though, I like how these look.

For example. I opted to move this board over about 1/2 an inch, to avoid having to cut out around the outlet. I though the cut out would be more noticable than the slight width adjustment. I think I was correct and it was much easier LOL

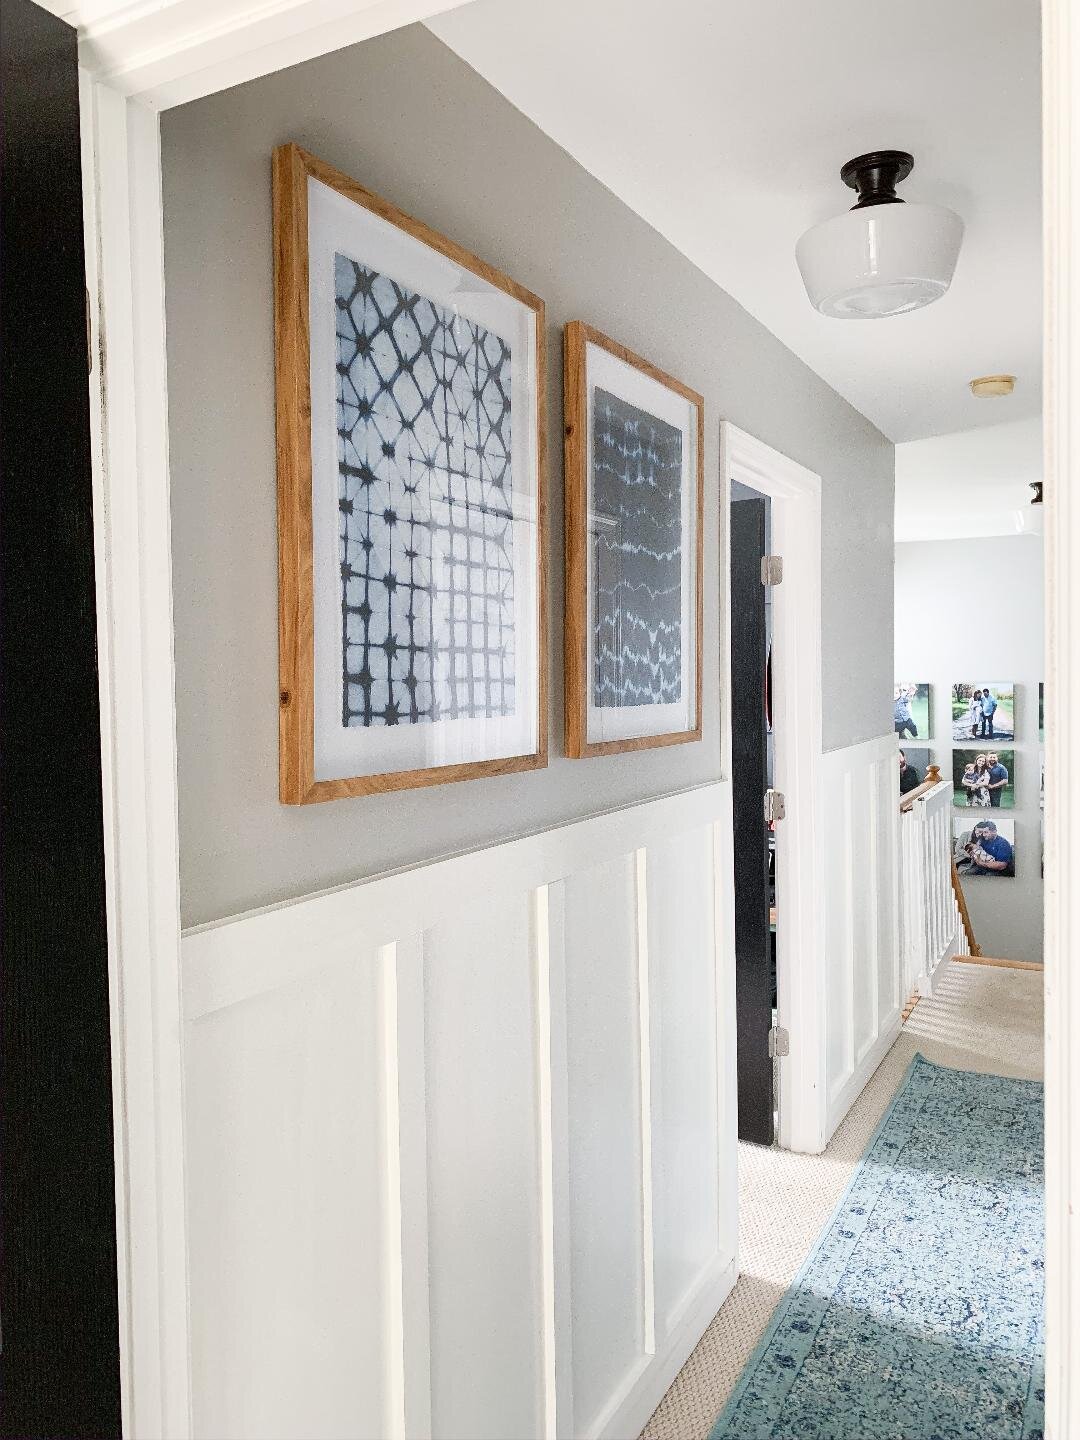
Look how bright and clean it looks! And it really helps all those upstairs doors pop, right? I’m really happy with the results, and am excited to do this in our dining room too. My biggest suggestion is that paintable sealant. Makes everything look like one big piece and helps to hide imperfections really well.

Not bad right?!? Someday I will tear out the carpet and hopefully soon I will create the reading nook for Parker in this hall closet. But I’m pretty tickled that this turned out how I saw it in my mind, and I did it all myself!