

This is the best DIY I can think of for someone just starting out. It’s three pieces of wood and you can even have them cut to the length you want at the store if you don’t have a saw at home. I am trying to par down my decor to a more simple, calm aesthetic, and this shelf was a way where I could still display a few pieces, while keeping them out of Parker’s reach!
When I went to look online to buy one however, I was shocked at the cost! With two kids, sometimes it’s easier to buy something, but I couldn’t justify the $96 + shipping I was seeing, so I decided to just make it myself. This one is 6 ft in length and is the only thing on this wall. I thought I would save the sizes and details for reference in case you’re a beginner wanting to try something out!

So first up is your three wood pieces. I wanted six foot boards at one inch thick, (which makes them about 3/4 inch thick fyi). I got two 1x4, and one 1x2. (This means that the board is one inch (actually about 3/4) thick and then 4 inches wide, or 2 inches wide). Sometimes it’s helpful to spell that out if you hear people abbreviating it. So then I bought them 6 ft in length.
Another tip is to look at if the board you’re selecting is priced per foot, or by piece. Sometimes it will make sense to get a longer piece and cut it in half.
Last tip is to compare boards when you’re buying them for straightness. You want them as straight as possible because I guarantee your wall isn’t totally straight and screws can only do so much.

So literally all we did was connect these two 1x4’s along the back with screws. I wanted it to be able to support a little weight without bowing, but it would never be holding too terribly much in weight. I think I have about 5 screws going through the back board and we drilled them flush so that it would hang flat against the wall.
We had marked the studs and then predrilled holes to line up. I wanted to attach it to the wall before putting the front piece on just so I just hold the drill straight. Little steps really do make things easier.
Also note that we obviously stained before hanging too. Stain takes longer to dry in the cold, so keep that in mind depending on where you are working. It helps to wipe off excess with a rag as well to keep the wood grain exposed.
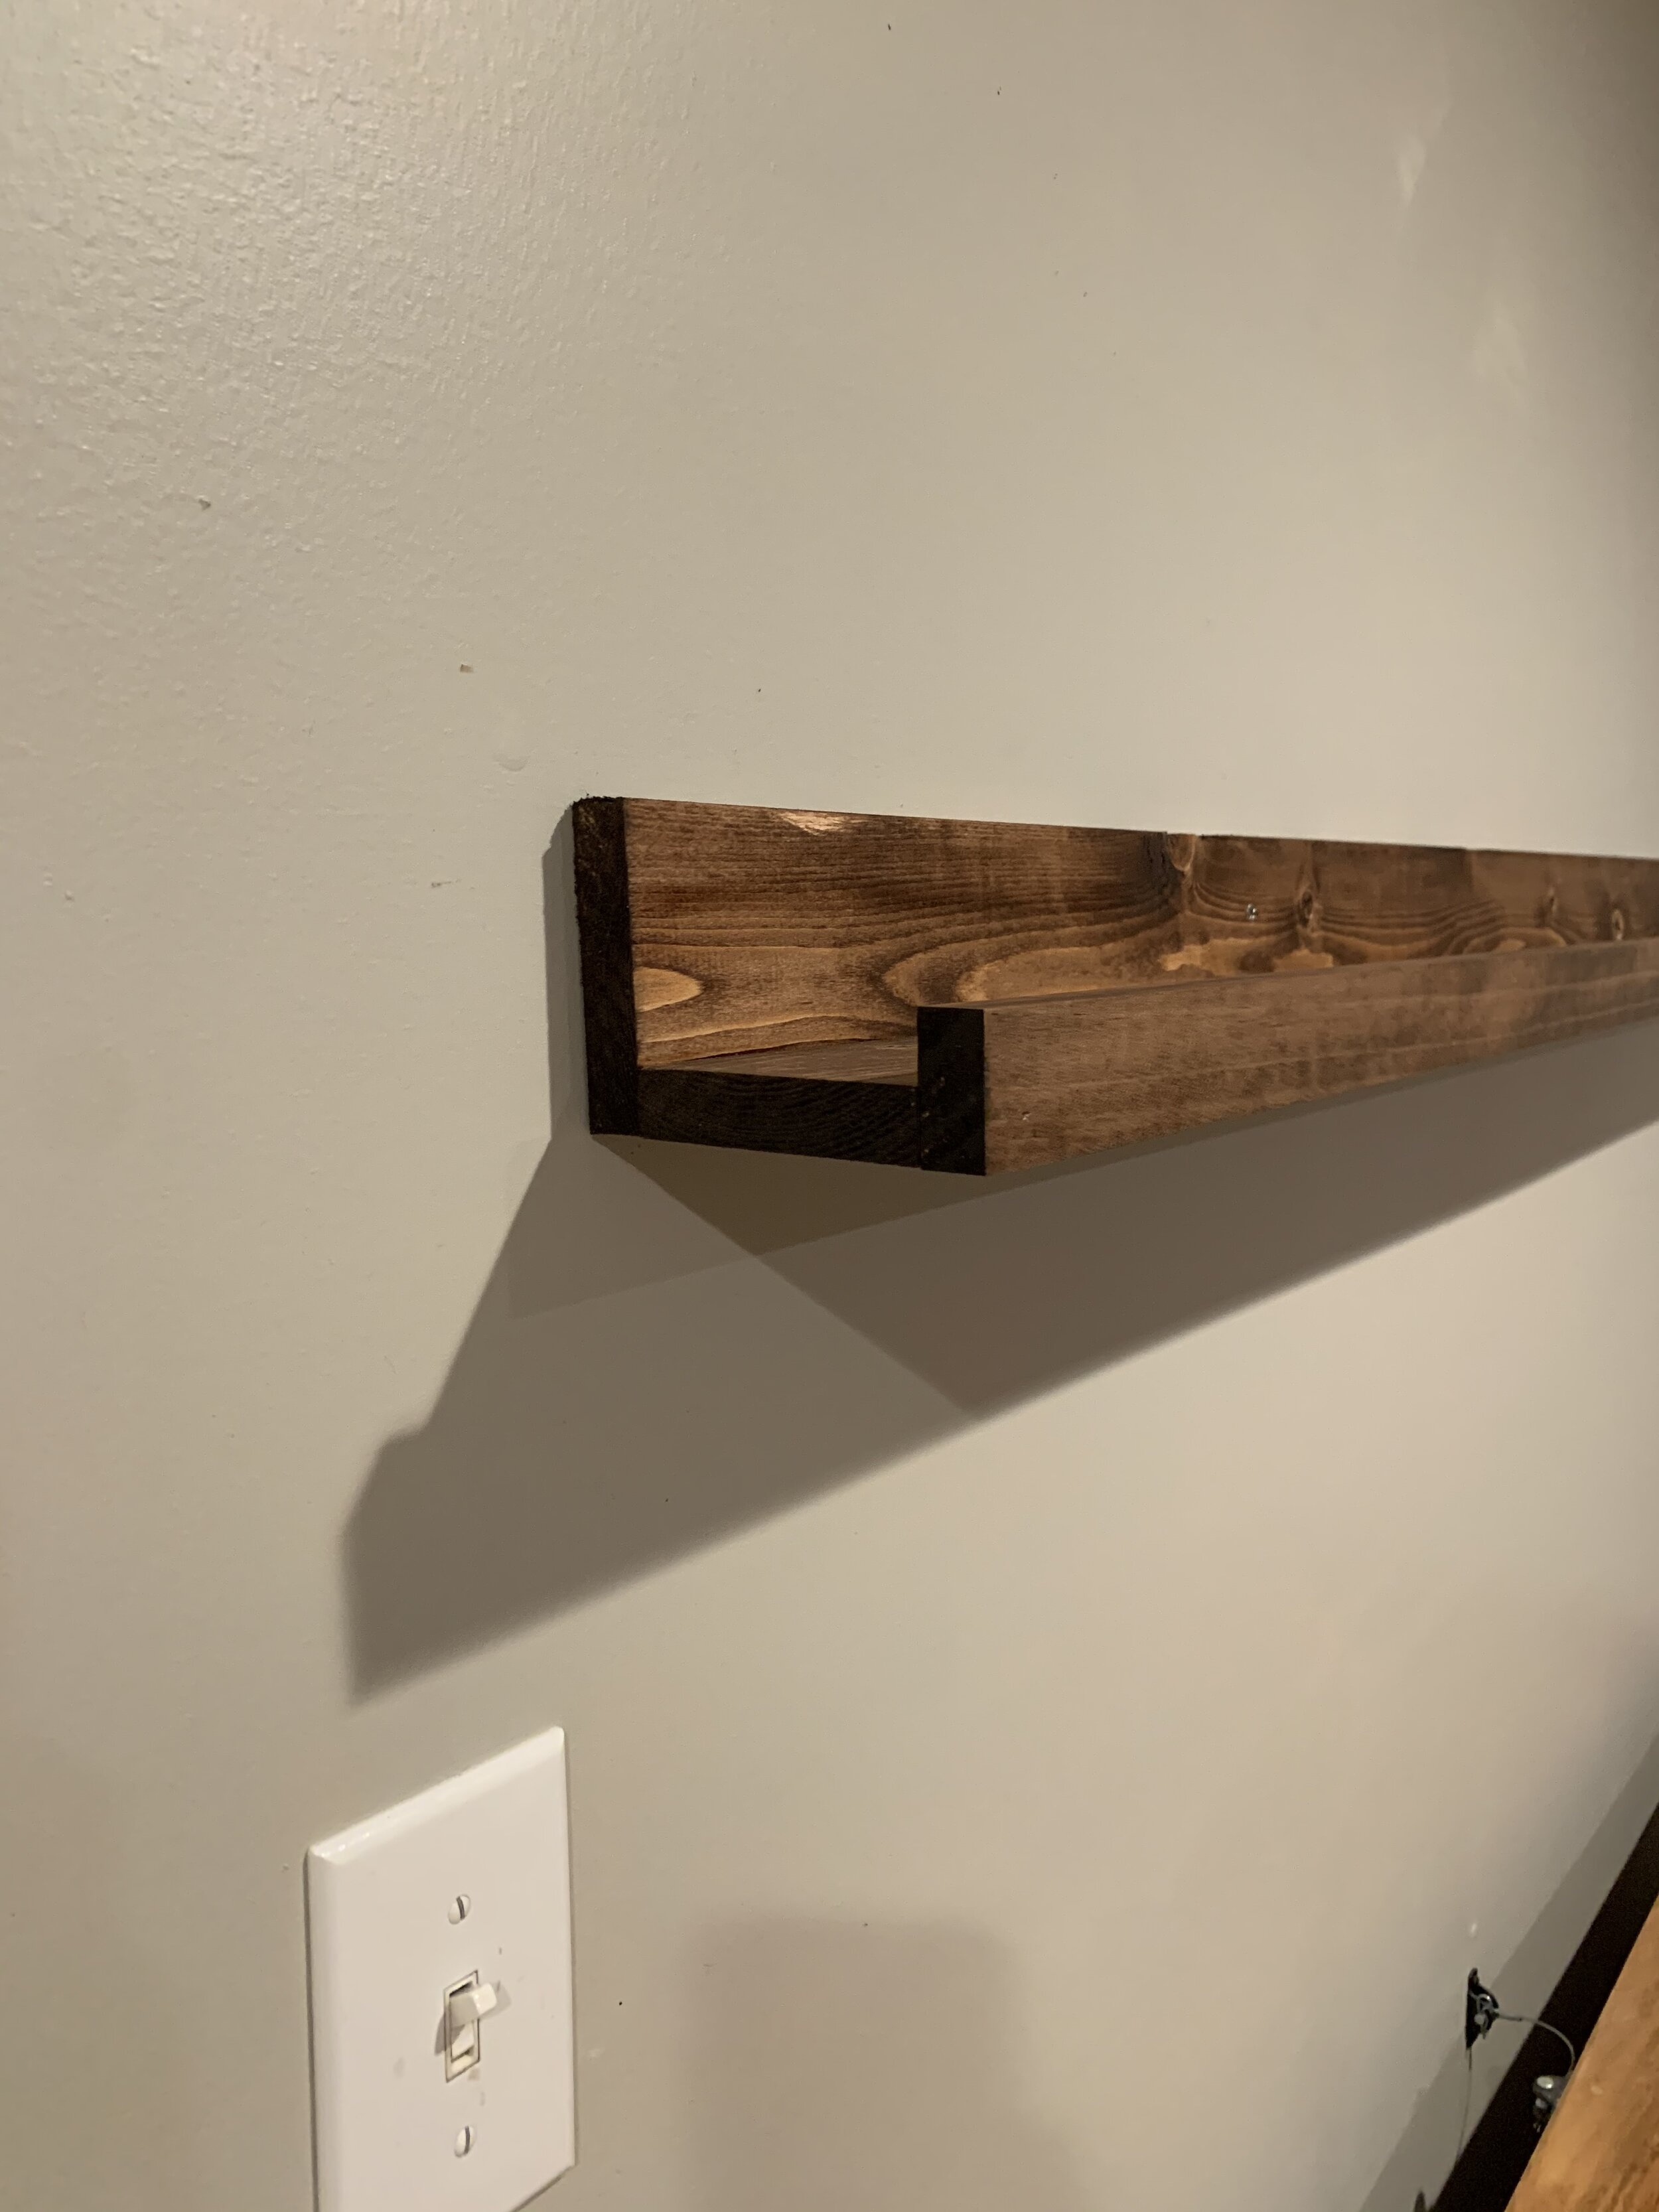
Last step was to add the front! I love my nail gun, so I just used some finishing nails since it’s more for show anyway, but you could use just a hammer and very thin nails if you don’t have one. You could always predrill a tiny bit, and then wood putty if it would truly bother you, but I don’t think it needs it. But that’s it! I love how it looks and it only cost me $14!

