

So I absolutely love the idea of travel. In my twenty five years I have been to Florida, Alabama, Tennessee, Georgia, Indiana, Ohio, California, South Carolina, New York, Connecticut, Nevada, Hawaii, Mississippi, Maryland, Illinois, Missouri, Louisiana, Kentucky (obviously) the Dominican Republic, the Caribbean, France, Italy, England, and Ireland. And I hope to continue to grow that list especially in these next several years!
This classic map from MapsInternationalUSA was the perfect way to add a little color to my office. I someday plan to turn this room into a nursery, and can't wait to use this as part of an adventure theme!
I was able to get the map really easily off their etsy page, but couldn't figure out a good way to display it that looked classy. Until I made up my own!


I have a sign or two that is hung in a similar fashion, but nothing that was made for a print this size. I ended up using some wood framing that was left over from our kitchen renovation. I measured out two inches longer than the width of the map and cut them there.
Until I get a table saw, this $10 hand saw is great at making 90 and 45 degree angle cuts. The question really is how do I not have a table saw yet? :)

I then stained both boards a rich brown color. Anything I can do to ad some warmth to my rooms I'm all about!
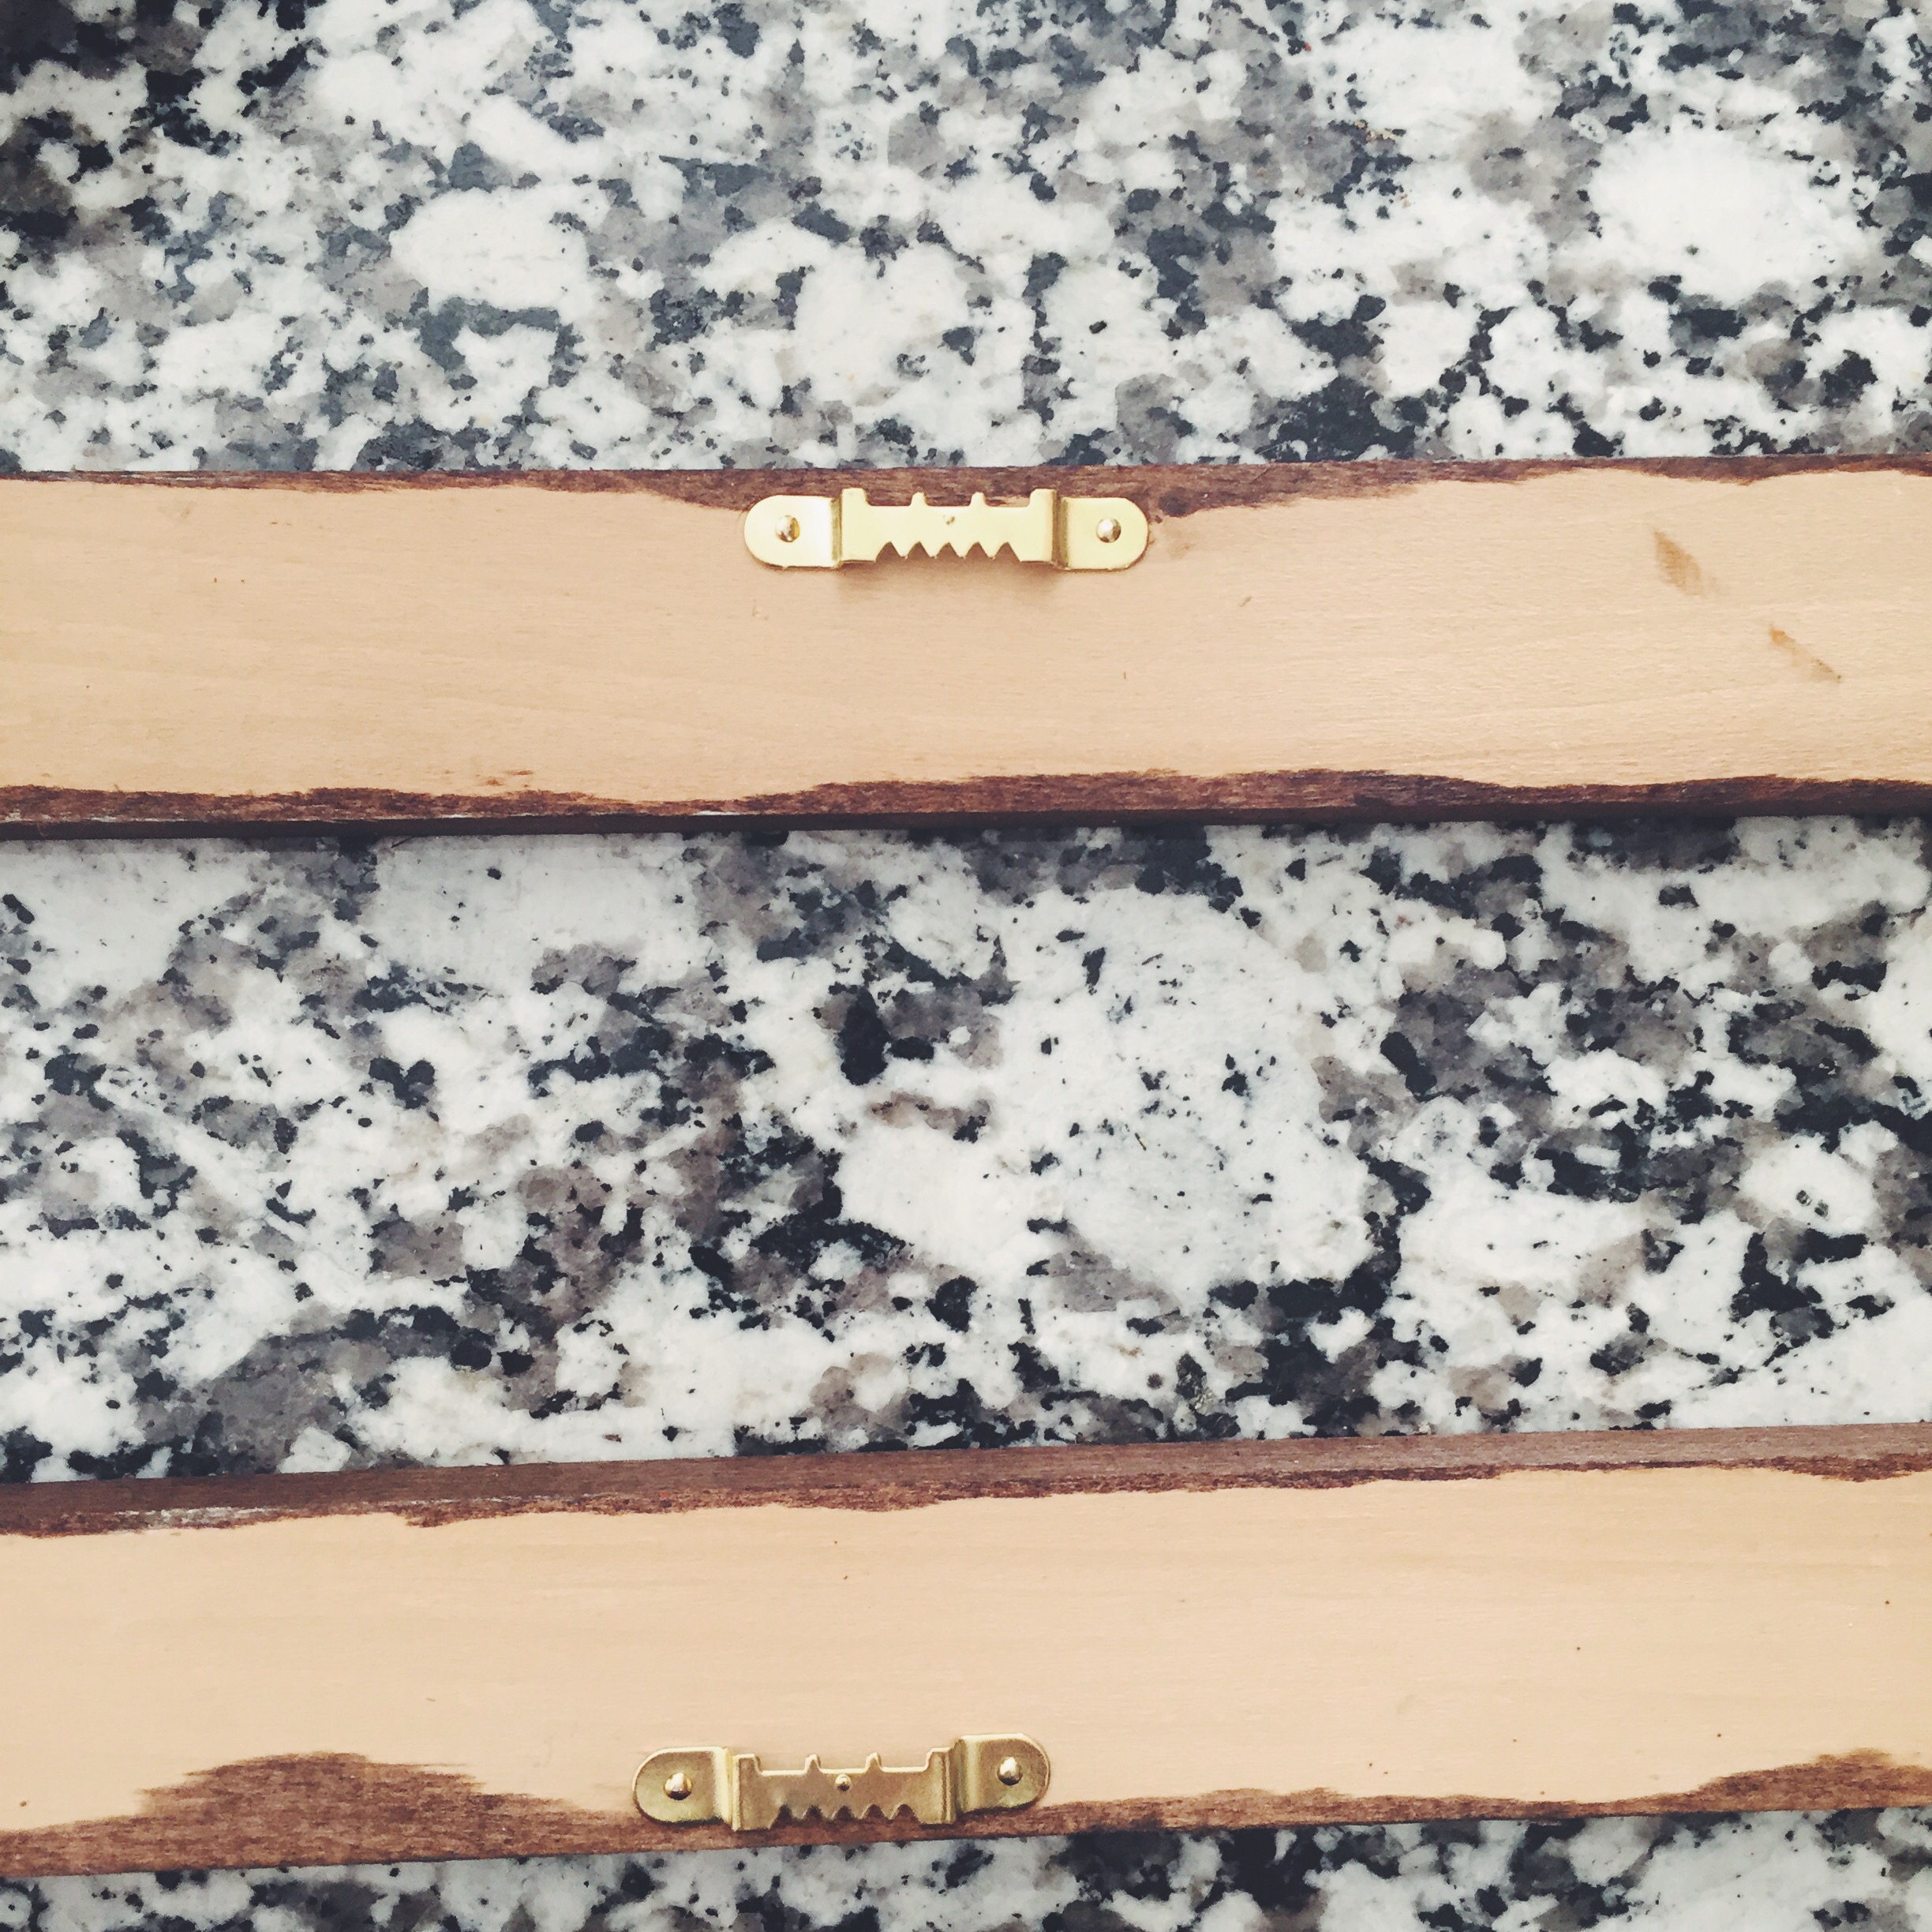

Next I added some hanging brackets to the top and bottom wood strips. I decided to attach to map to the wood frame using hot glue. I debated a temporary attachment, but this allowed the wood to hang flat along the bottom panel, without trying to flip outward.

Once the top panel was attached, this is what it looks like hanging from the wall. The bottom one takes a bit of thinkings, but once you attach the bottom panel to the print, see where the hanging brackets hit on the wall. Then lift the print and hang a nail on either side. This needs to be exact so that it doesn't bubble, but you want to have them there to take some of the weight off the print so you don't risk it the print ripping!
That's it! It took hardly anytime, other than waiting on the stain to dry, to make. So much classier looking than push pins in the wall. Don't you just love it!?
