

So beds can be expensive. Like really expensive. So when I went down to visit my cousin and she said she wanted to make one I was more than happy to help!

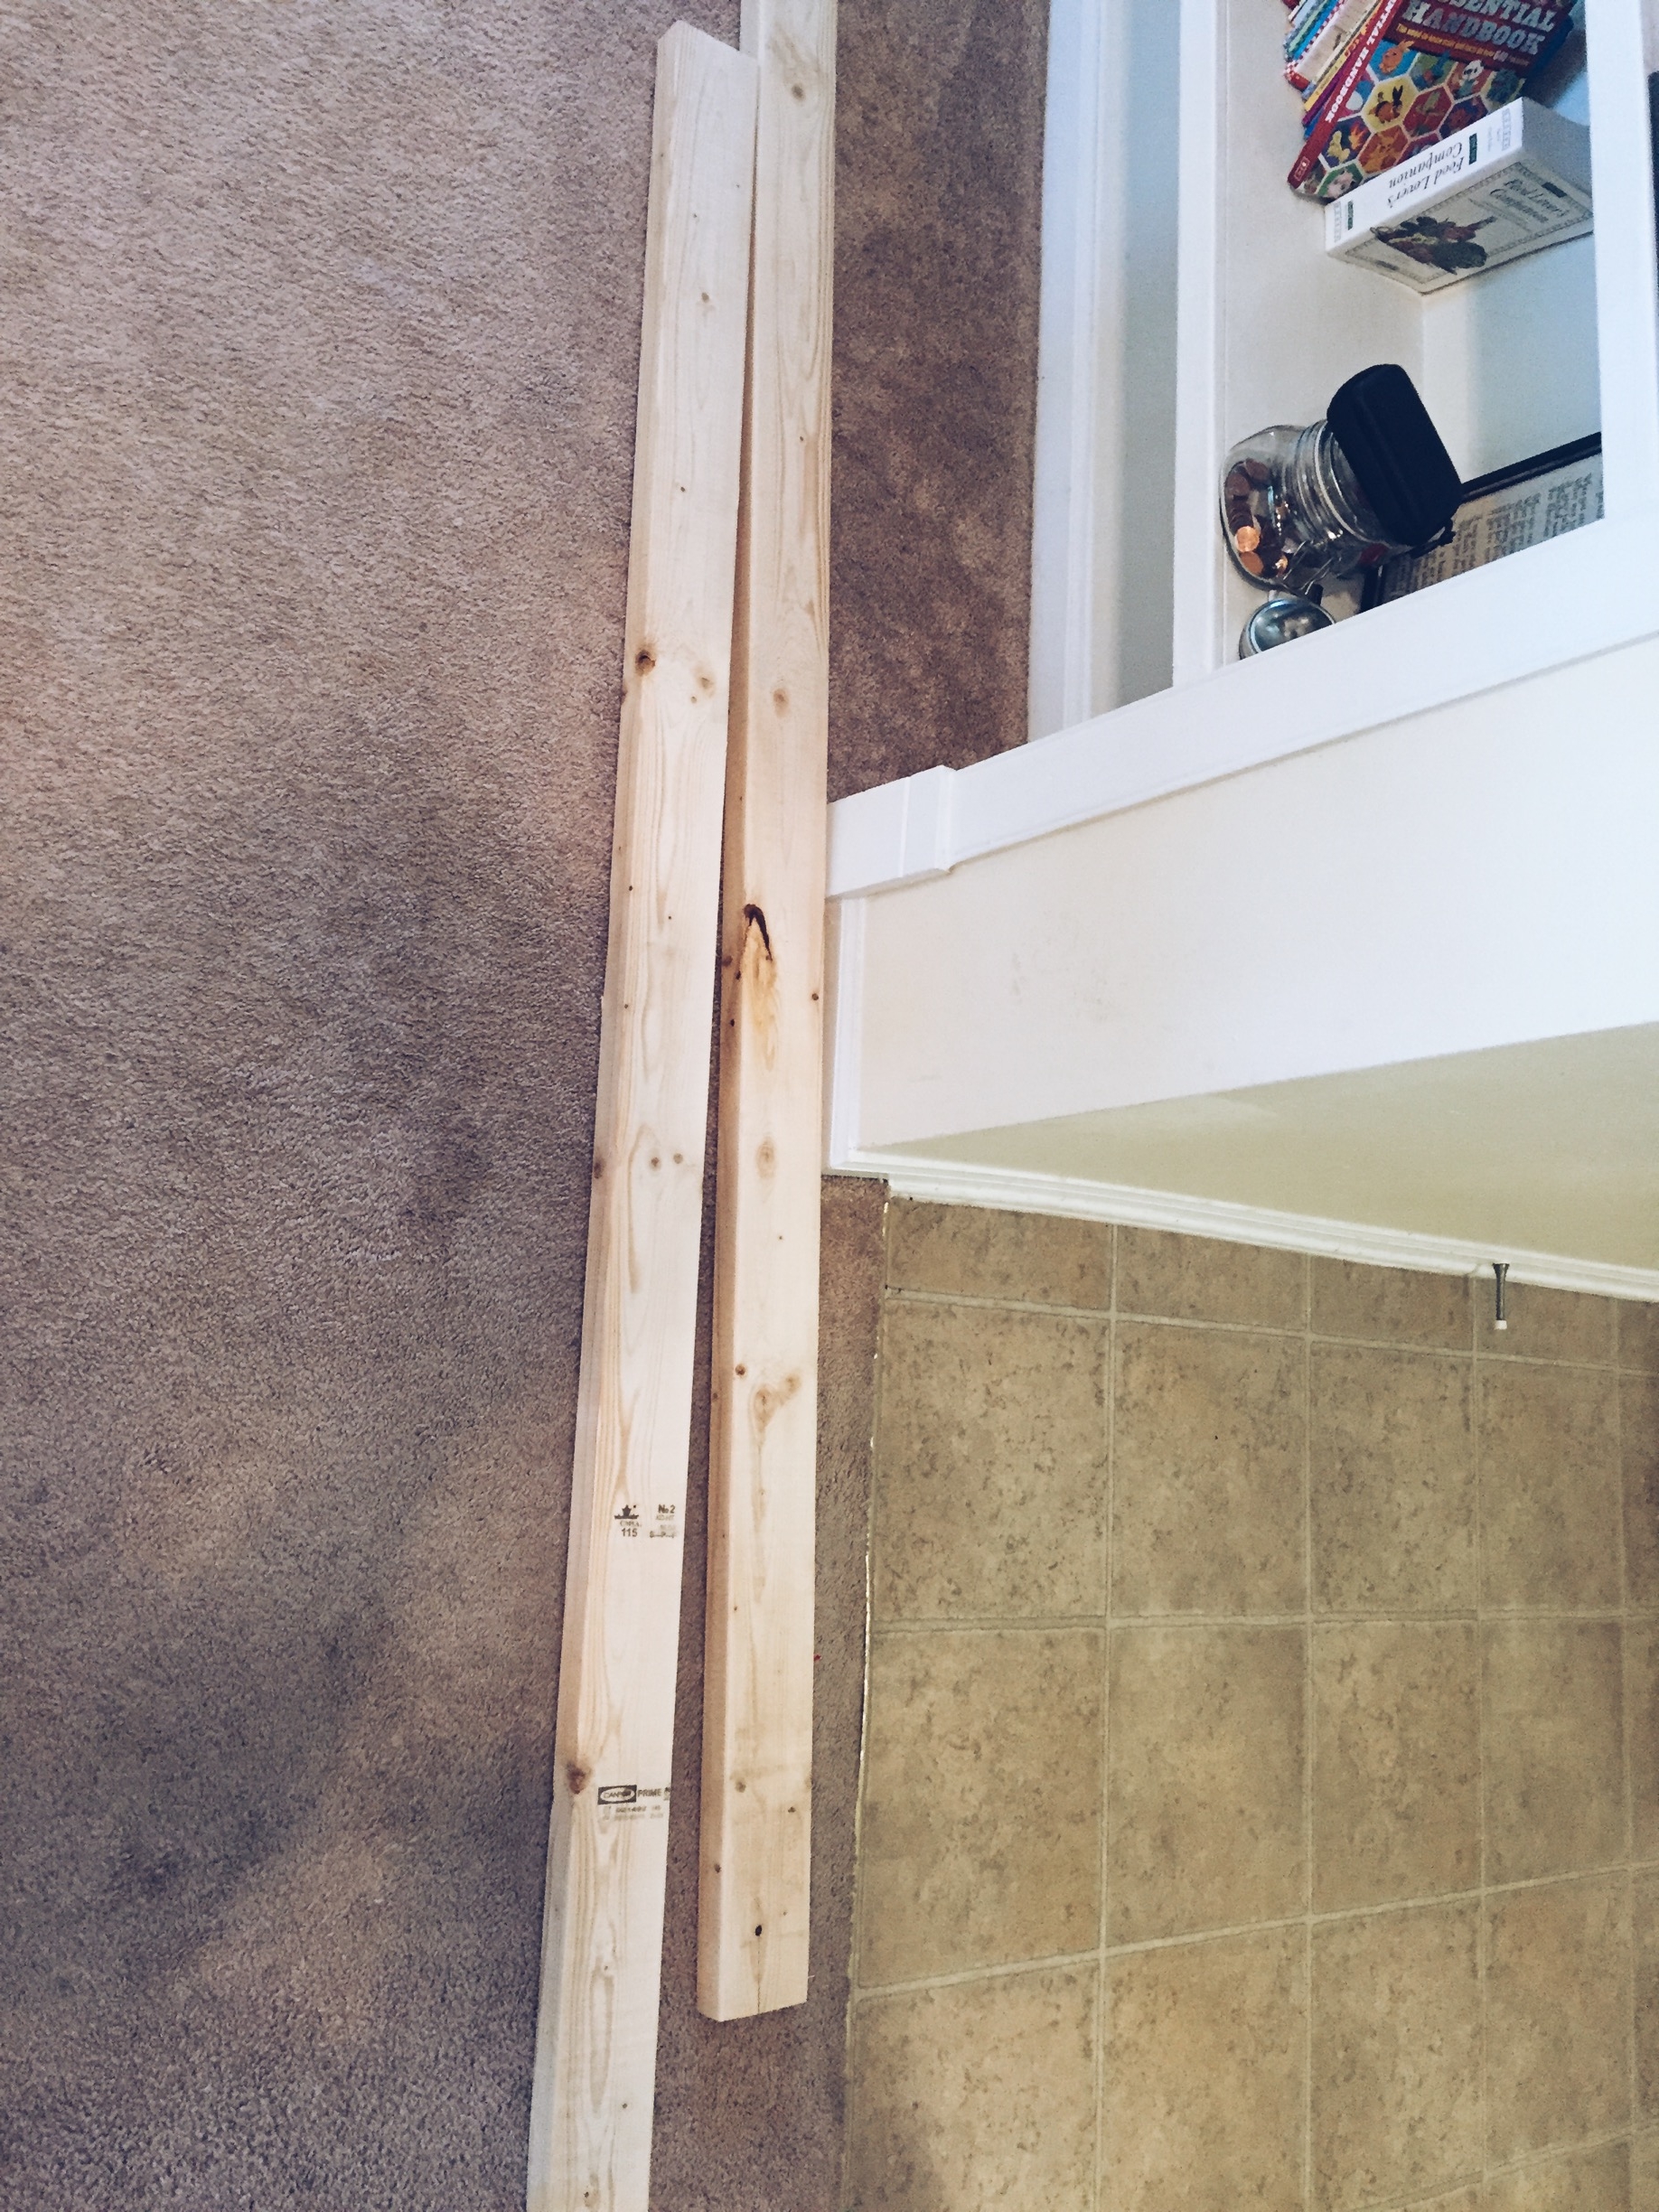
The supplies you need are really simple. Measure the width of your bed and have your horizontal boards cut to that. For this queen size bed my board were 5 feet across. I got four 10 inch wide boards for the horizontal pieces.
For the vertical pieces it's up to you how tall you want your headboard. She wanted her's pretty dramatic so we went with 6 ft 2x4s. This way, the bottom 2-3 feet are behind the bed and then the horizontal pieces start.

Lay it all out and see if everything lines up. You want to make sure your boards are not bowed or anything. I like knots and details in wood though, so those things are fine with me.
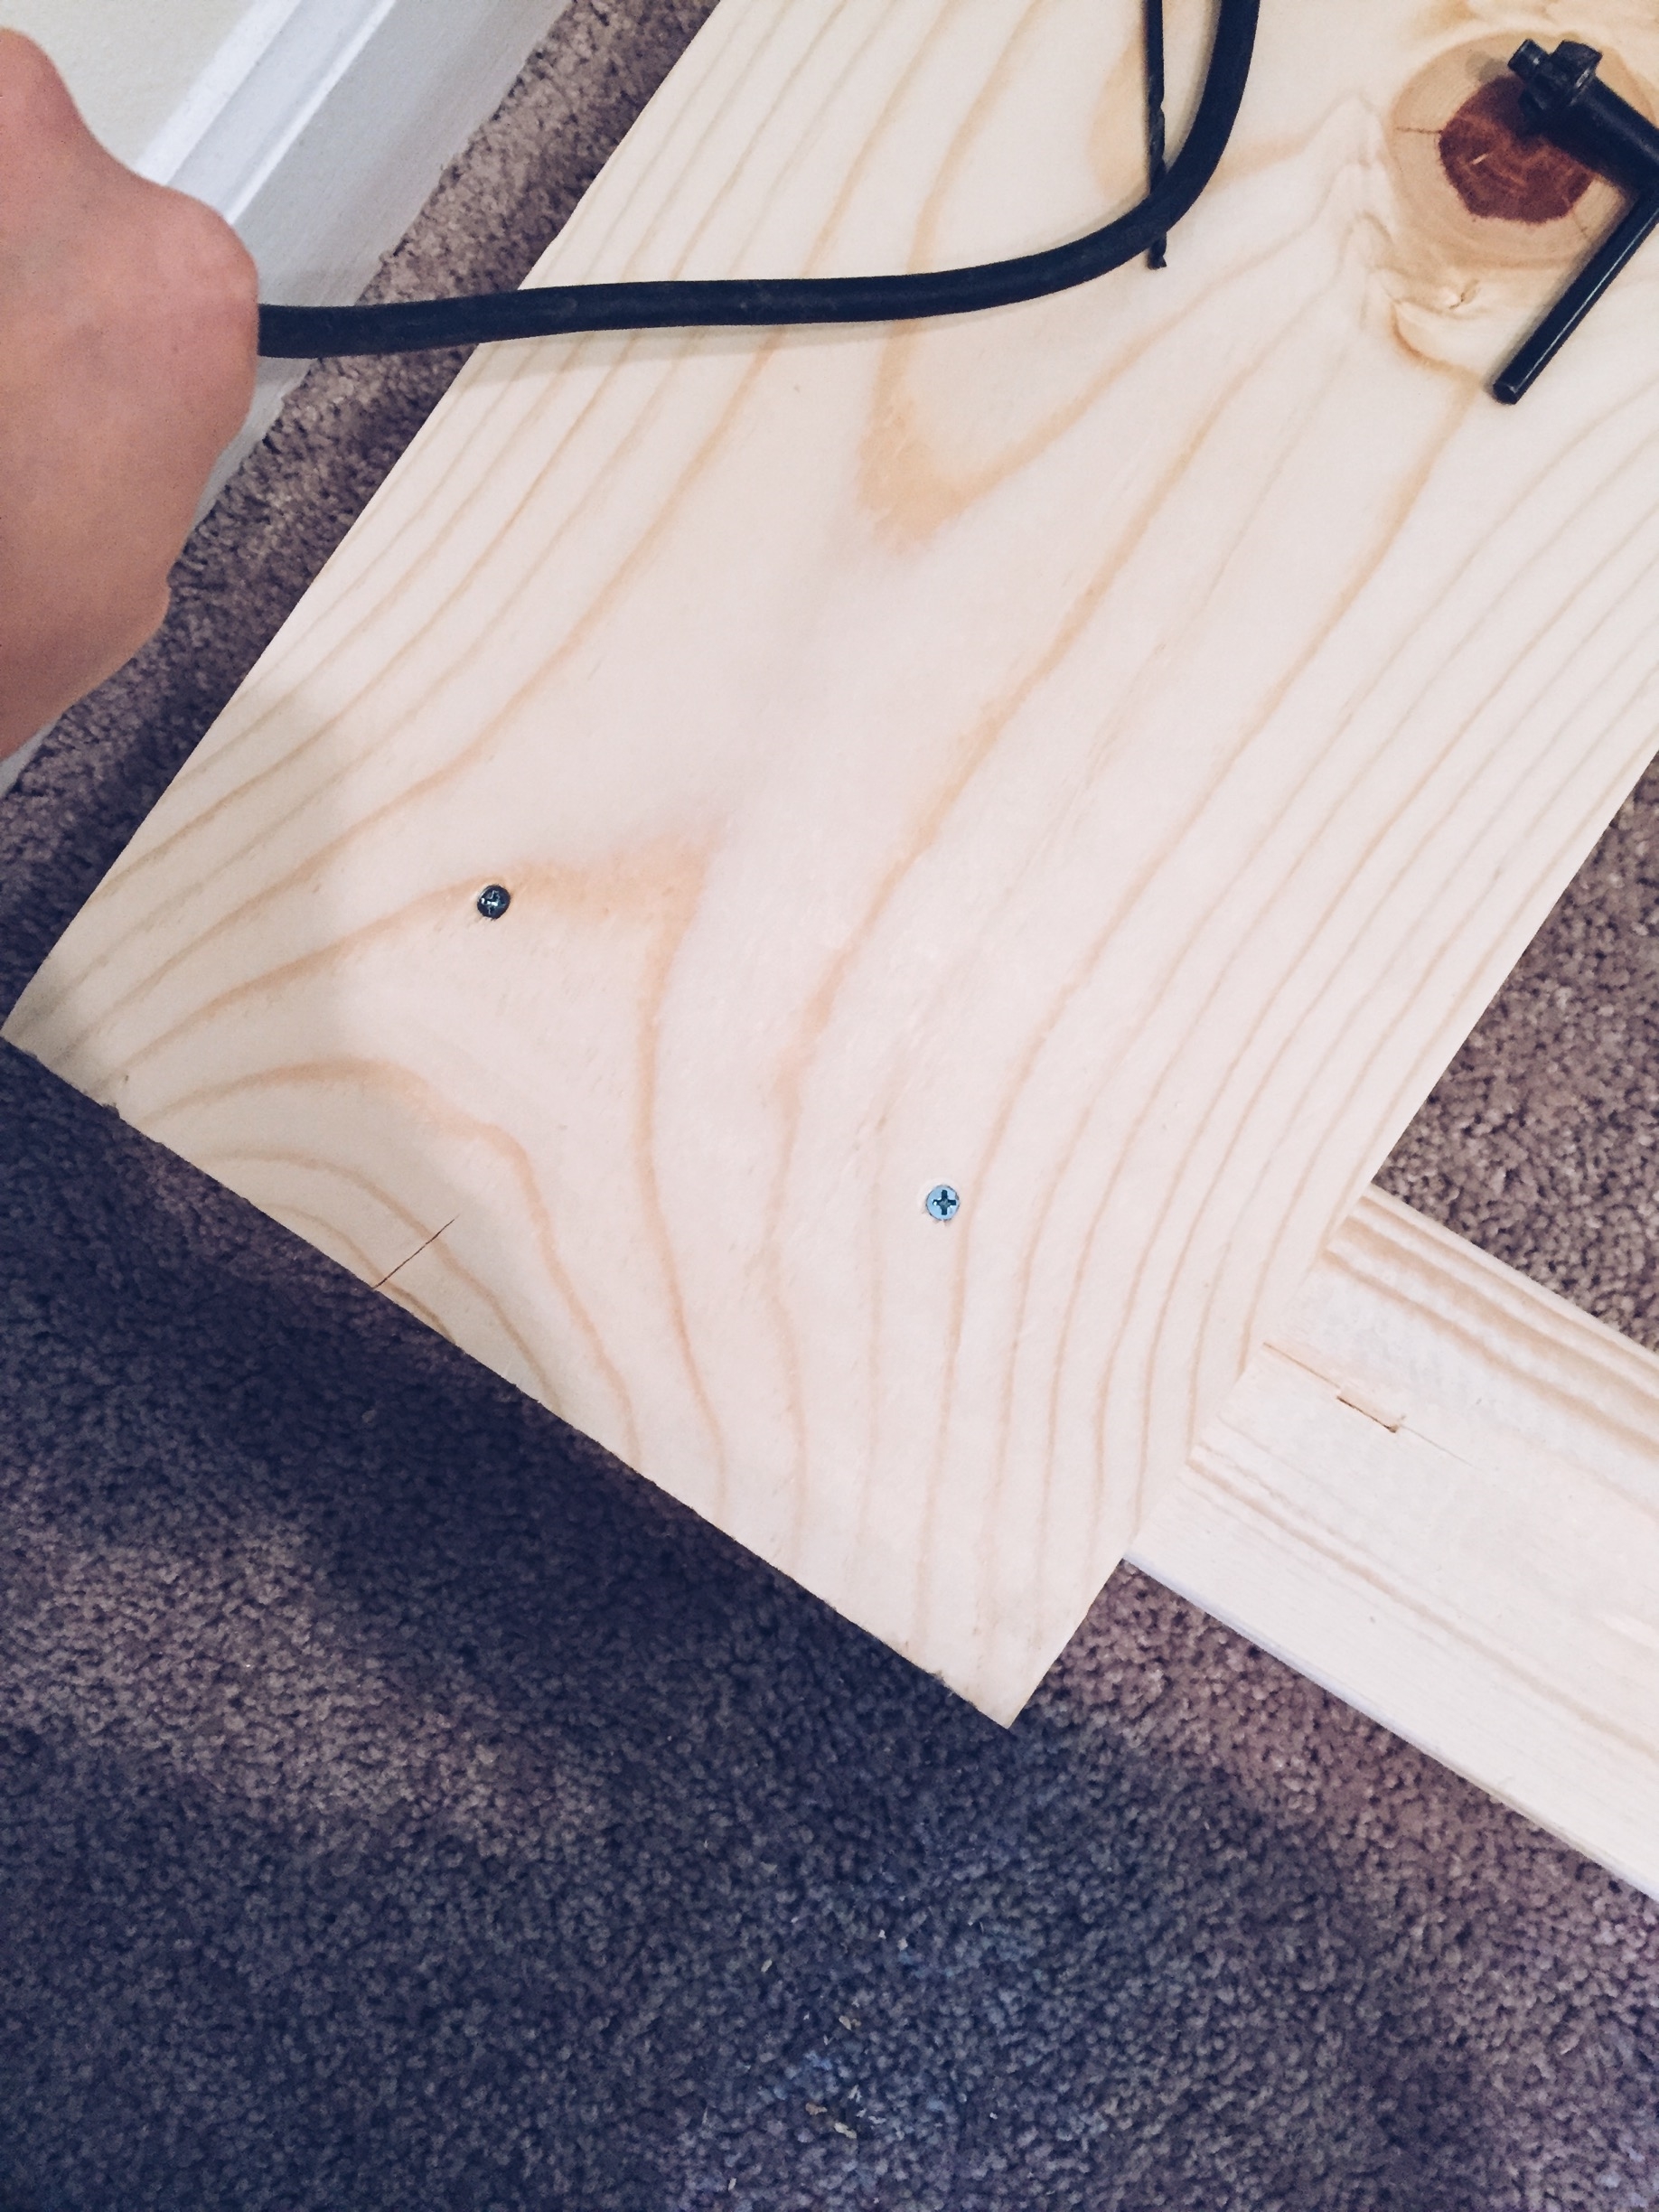
For each board, I used two screws to connect my horizontal piece to the 2x4. I made sure that each piece was lined up with same width on each side and was straight.
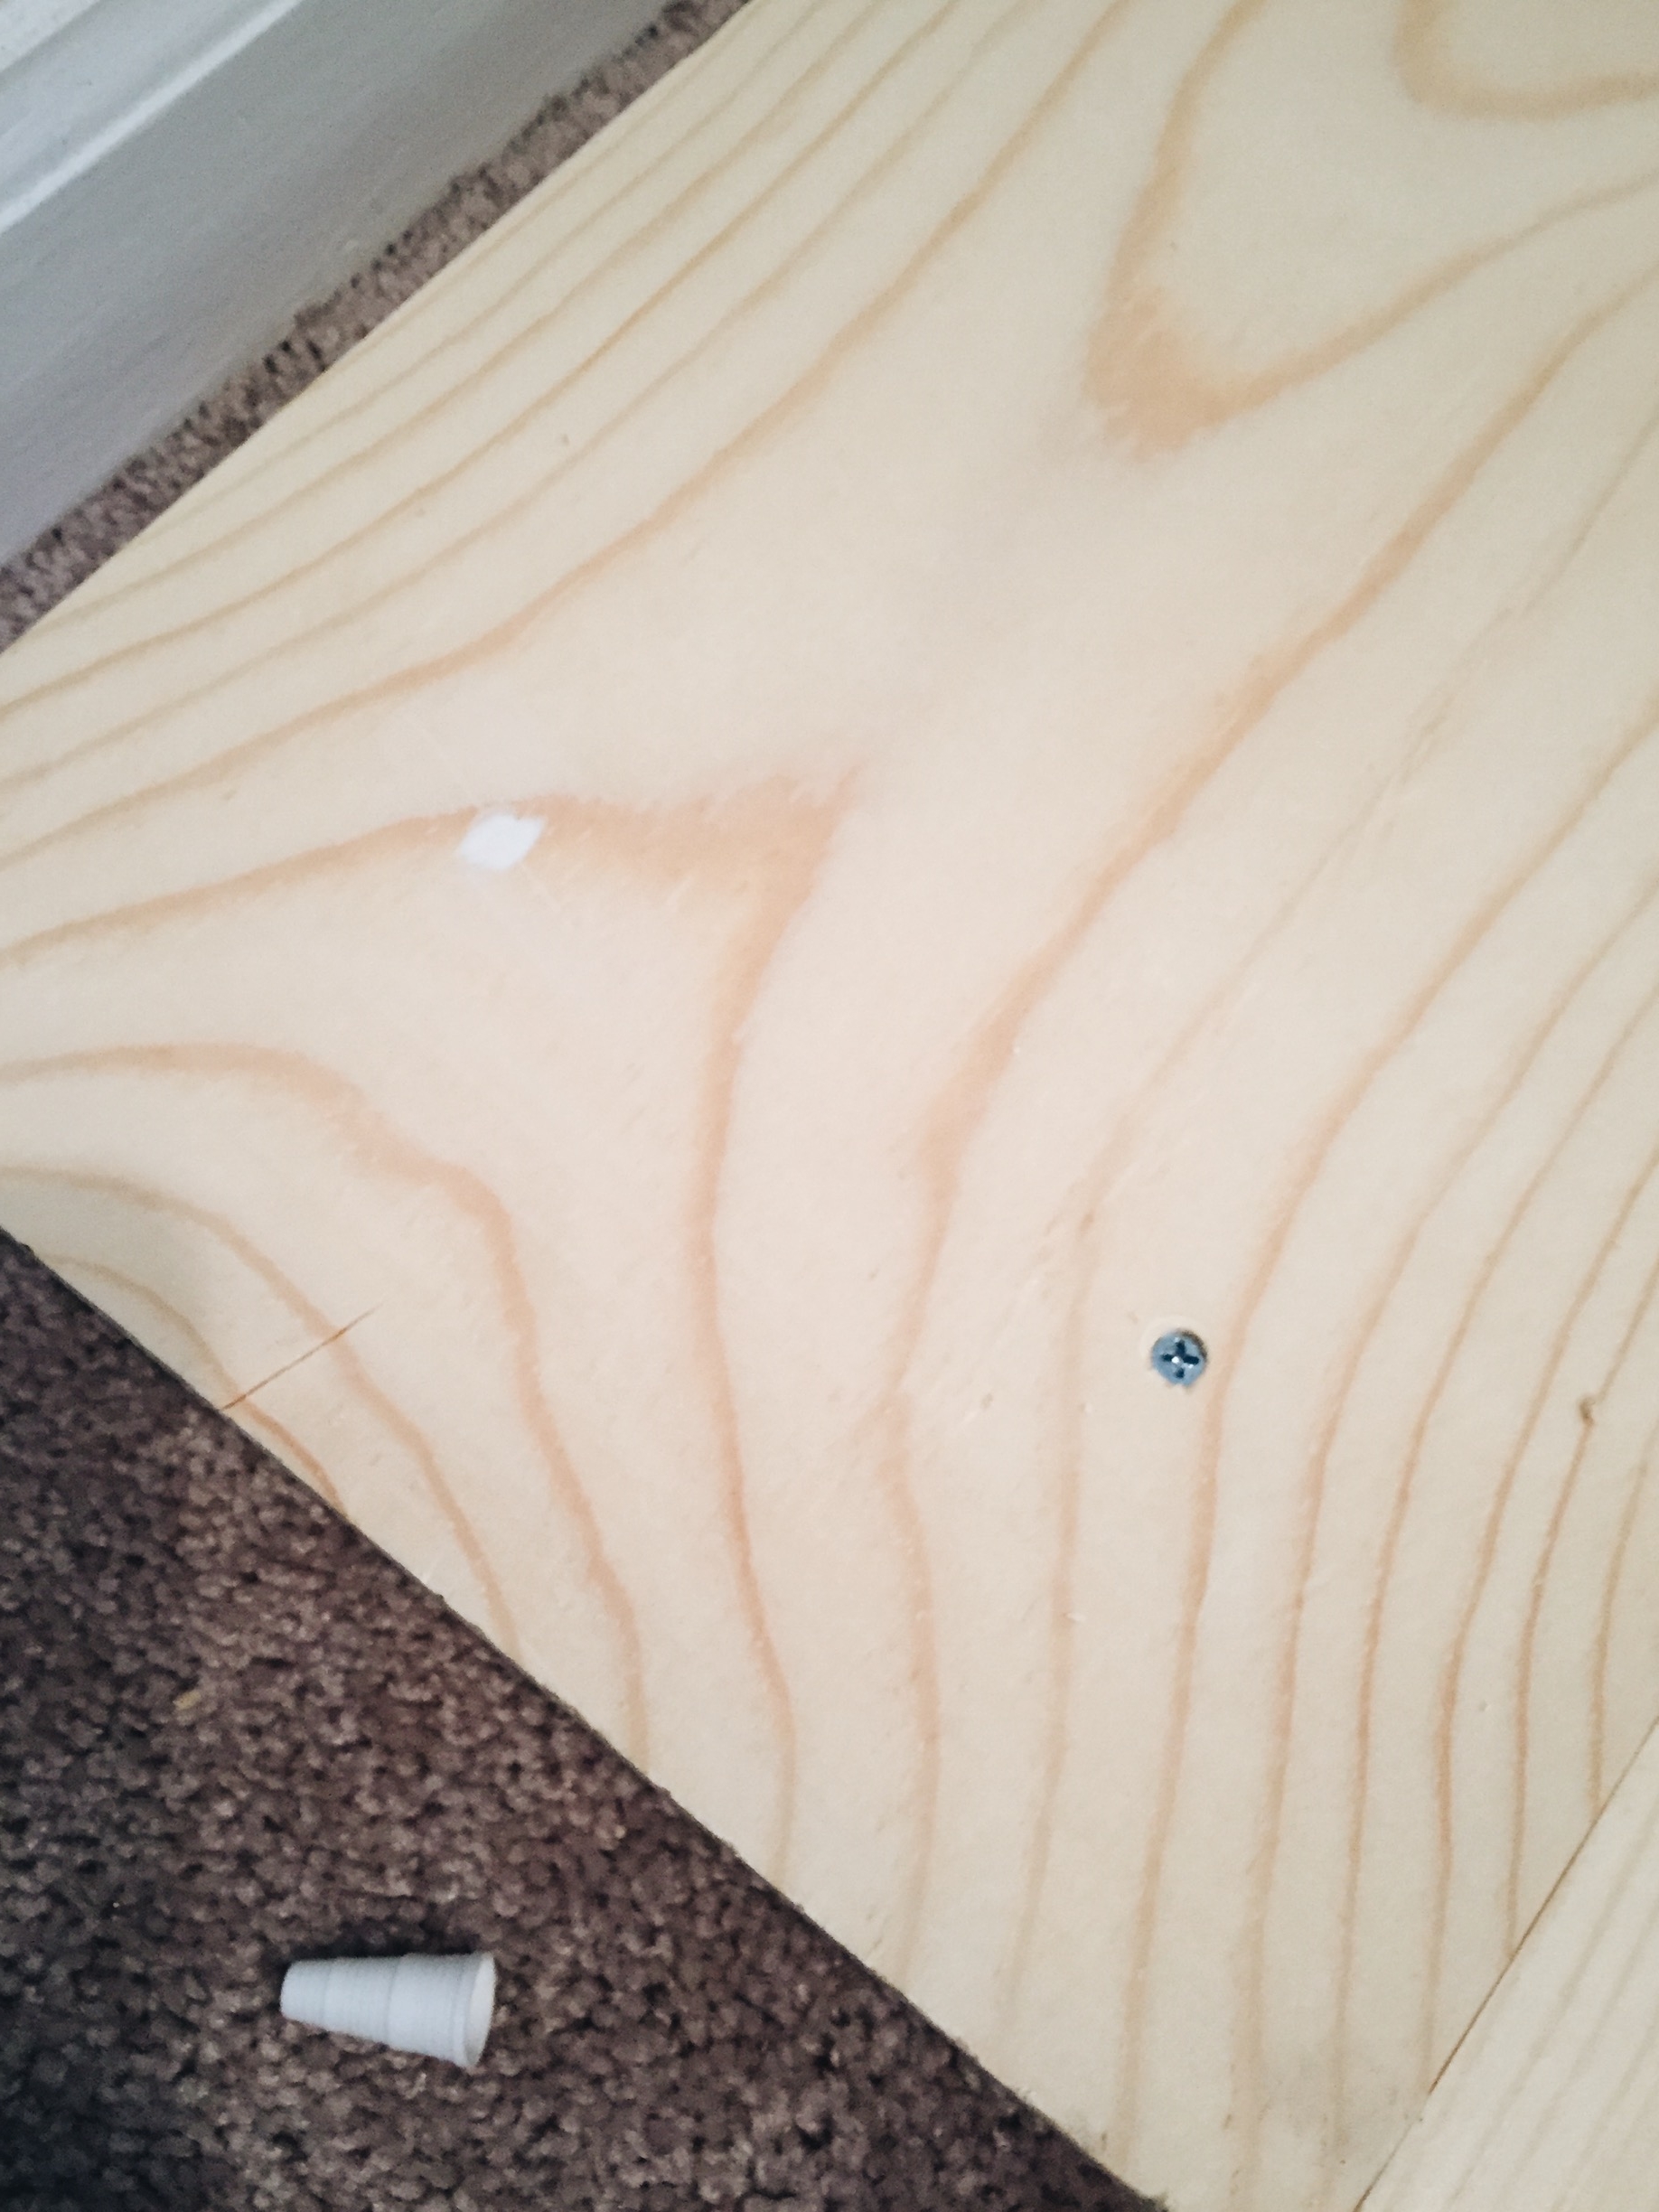
Then I used putty to smooth out where the screws had gone in.


Now personally, I was wanting to stain these boards a dark brown color. But with having a baby in the house, we weren't comfortable using something that could be potentially harmful. That's where, yet again, Annie Sloan Chalk Paint comes in.
We opted to paint the headboard a nice clean white called Old White. Then to give it a distressed look, since sanding it would do no good with no stain underneath, I played around with the dark wax for the first time. Terrifying, but totally worth it.

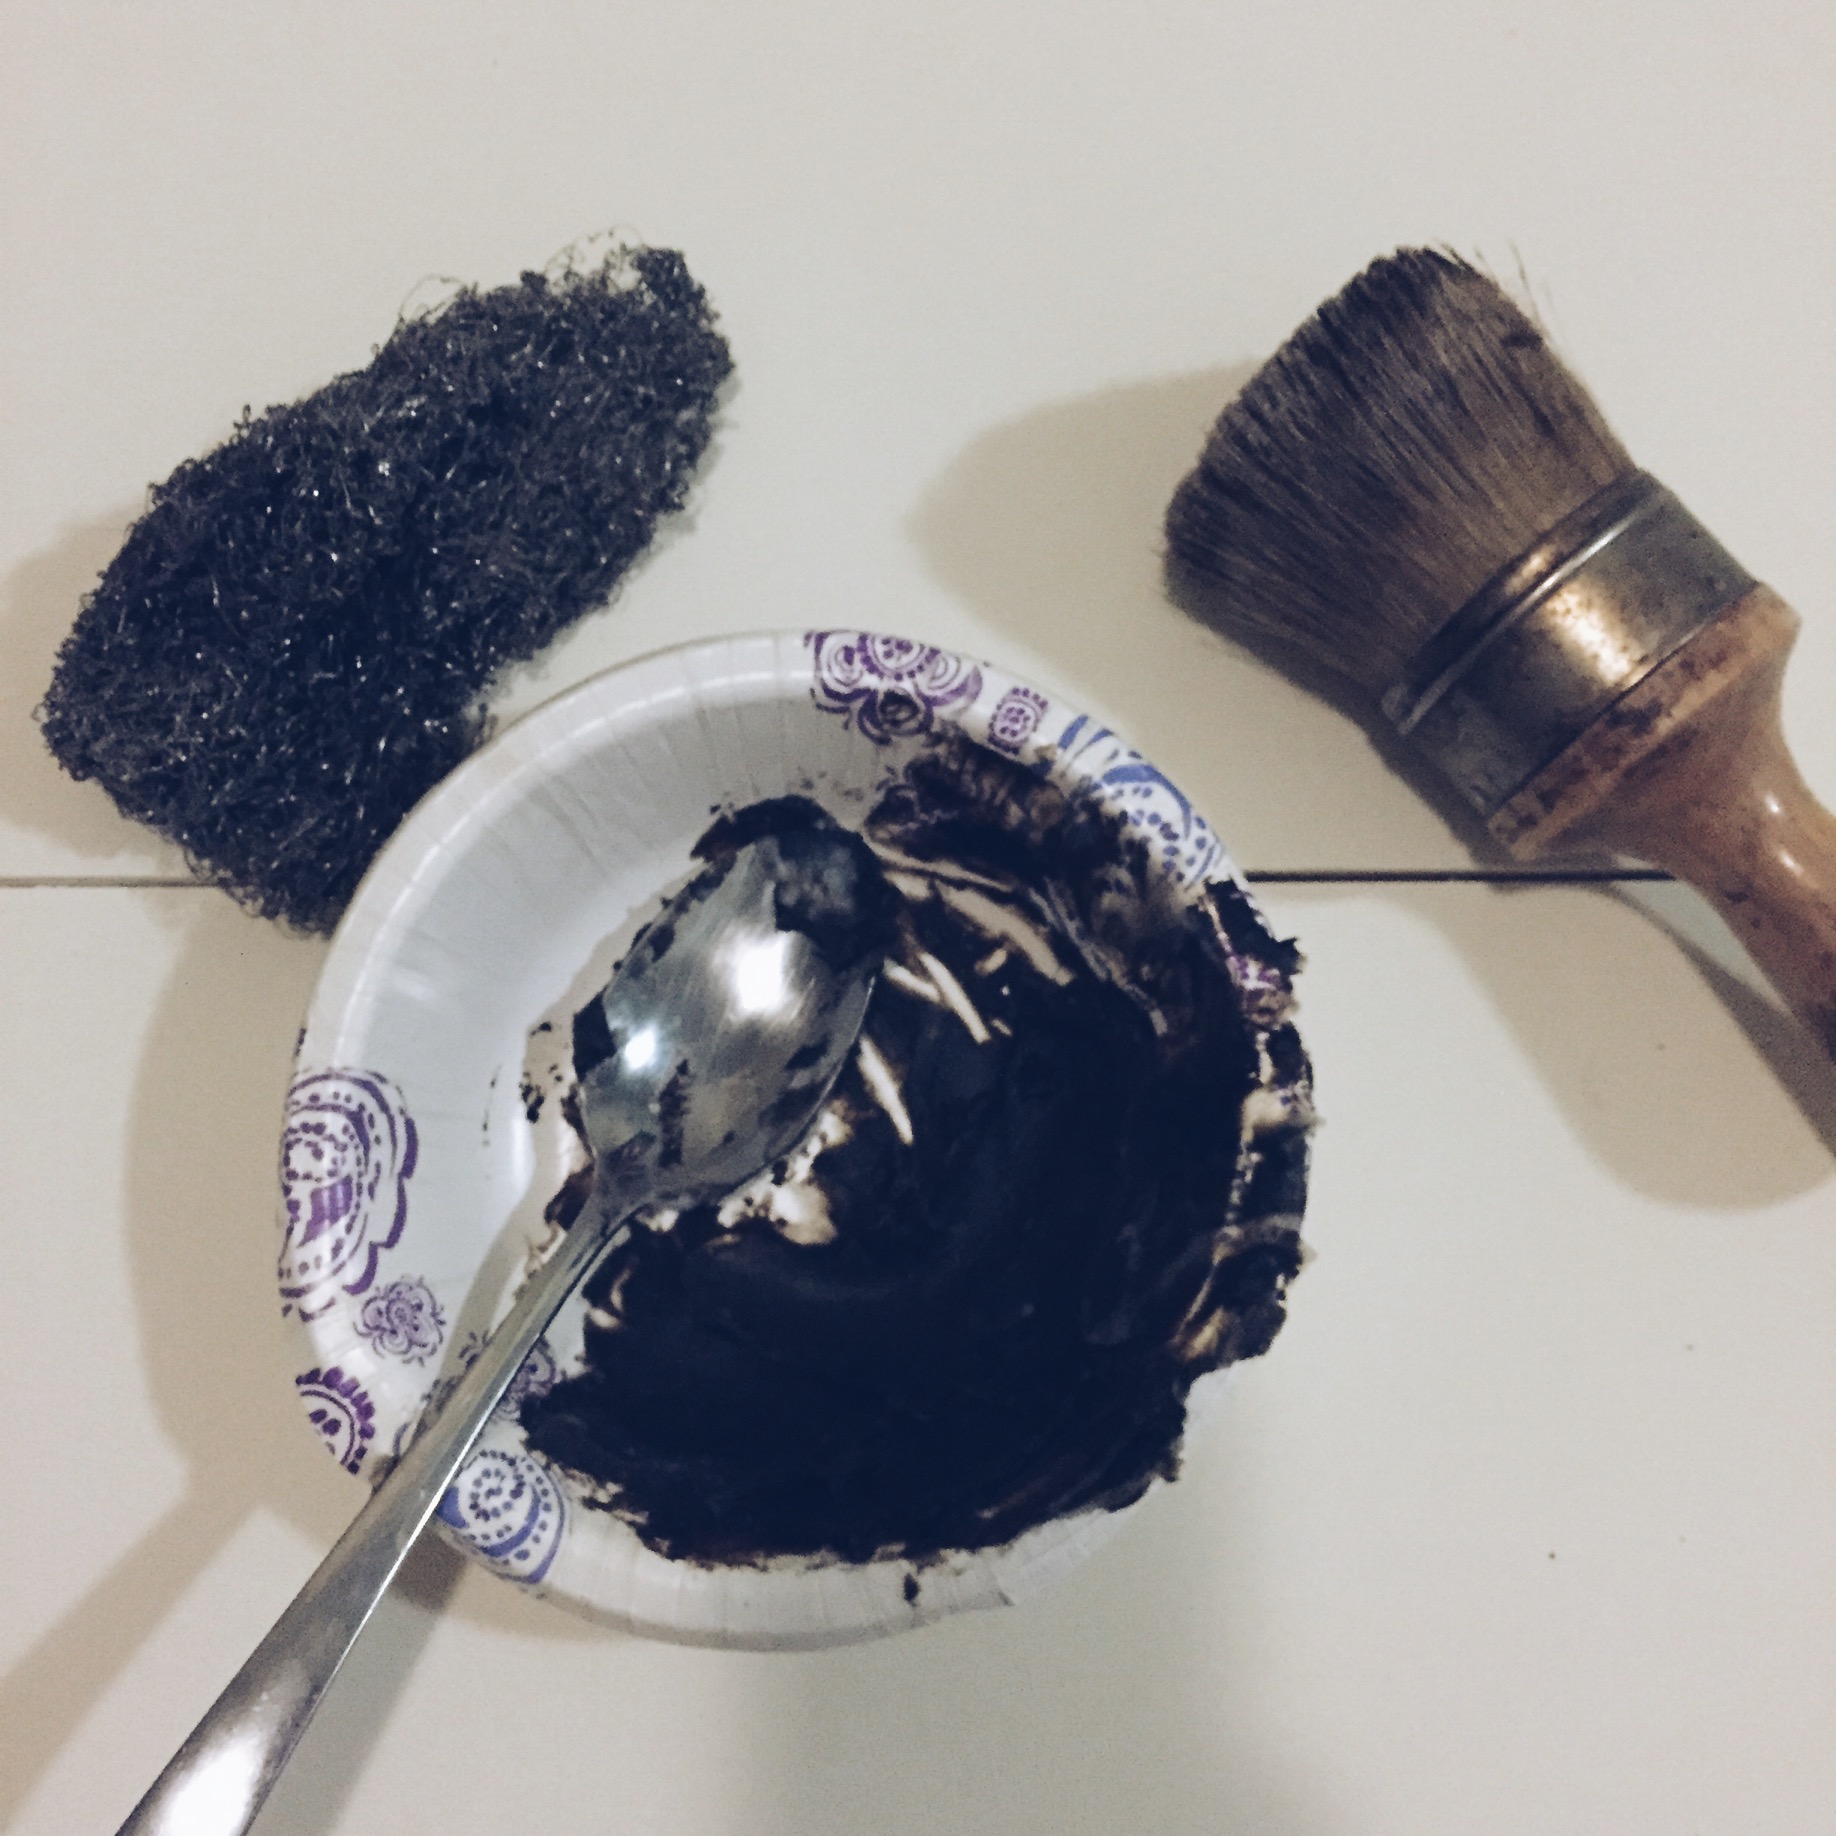
So this is the ratio that I used. It was about 1:4 of the dark wax to the clear wax. I mixed it up really good, and it still looked scary black. Be brave.
I used steel wool and the wax brush to make the distressed look. Long brush strokes seemed to work best. I then rubbed them into the paint with the steel wool and used a rag to blend.
I think the result is pretty much amazing. And we didn't have to stain anything to give it that worn distressed look. Ya'll this took a day!
We attached it to the bed with bungie cords to the bed frame. A little red neck, but with them living in an apartment I didn't want to do more to the walls than necessary. You could easily attach this to the wall, but I liked that this option let you rearrange the room when you wanted with less hassle! So there you have it! This whole project costs less than $100, and we had the paint and wax before this anyway so it was closer to $50 for us! Pretty pleased with the result if I do say so myself!
